
Kitchen Bitchen
The Ultimate Guide to Cleaning and Restoring Vintage Kitchenware
Brittney, the founder of Kitchen Switchen, is absolutely obsessed with thrifting. Not just the thrill of the hunt but the ultimate challenge: breathing life back into vintage cookware. If you ever walk into our office and the kitchen sink looks like a toddler had a bubble bath explosion, you’ll know Brittney’s scored another treasure. Cleaning materials on the walls? Check. Baking soda volcano on the counter? Double check. But that’s exactly why we love Brittney, and why Brittney loves her restoration finds.

Let’s say you’ve stumbled across a dusty 1920 cast iron skillet at a flea market or inherited Grandma’s tarnished silver platter. We’re here to help you restore those gems. Get ready for a fun (and slightly messy) ride into making your cookware shine again.
Do you have a stubborn cleaning project? Brittney’s mission and promise to her Kitchen Switchen community is to answer each and everyone’s question when it comes to restoration of vintage and pre-loved quality cookware finds.
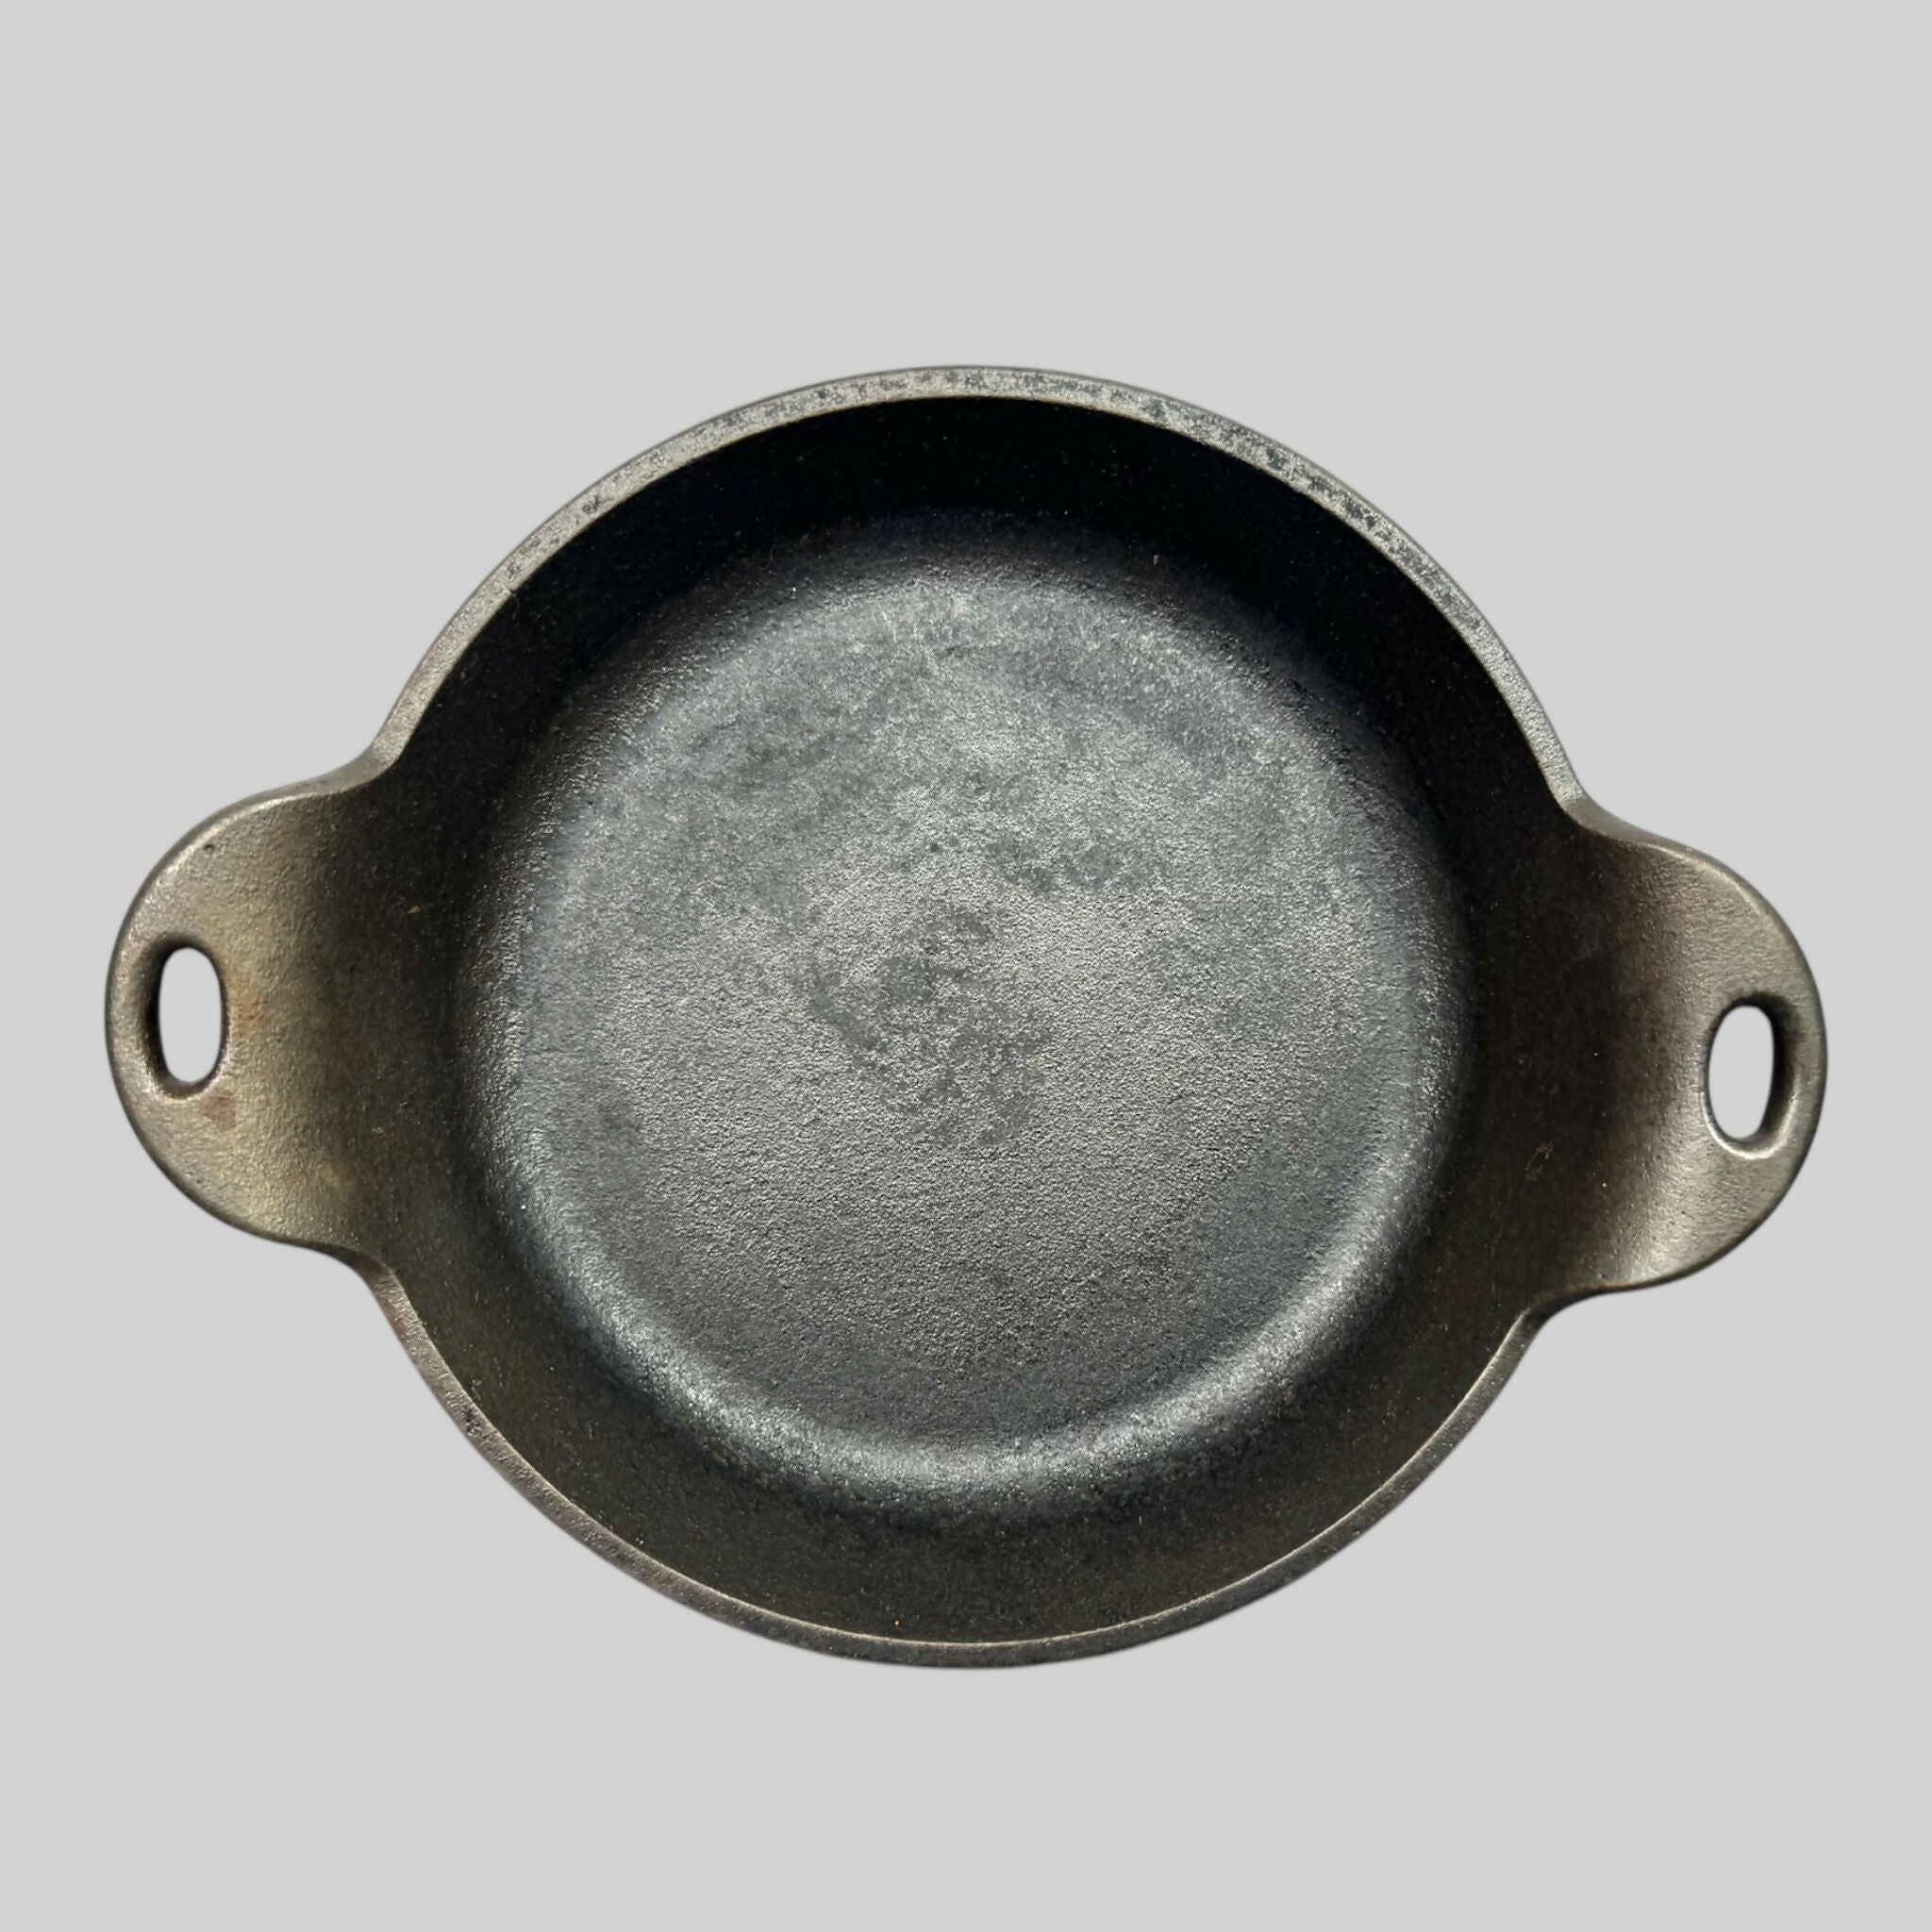
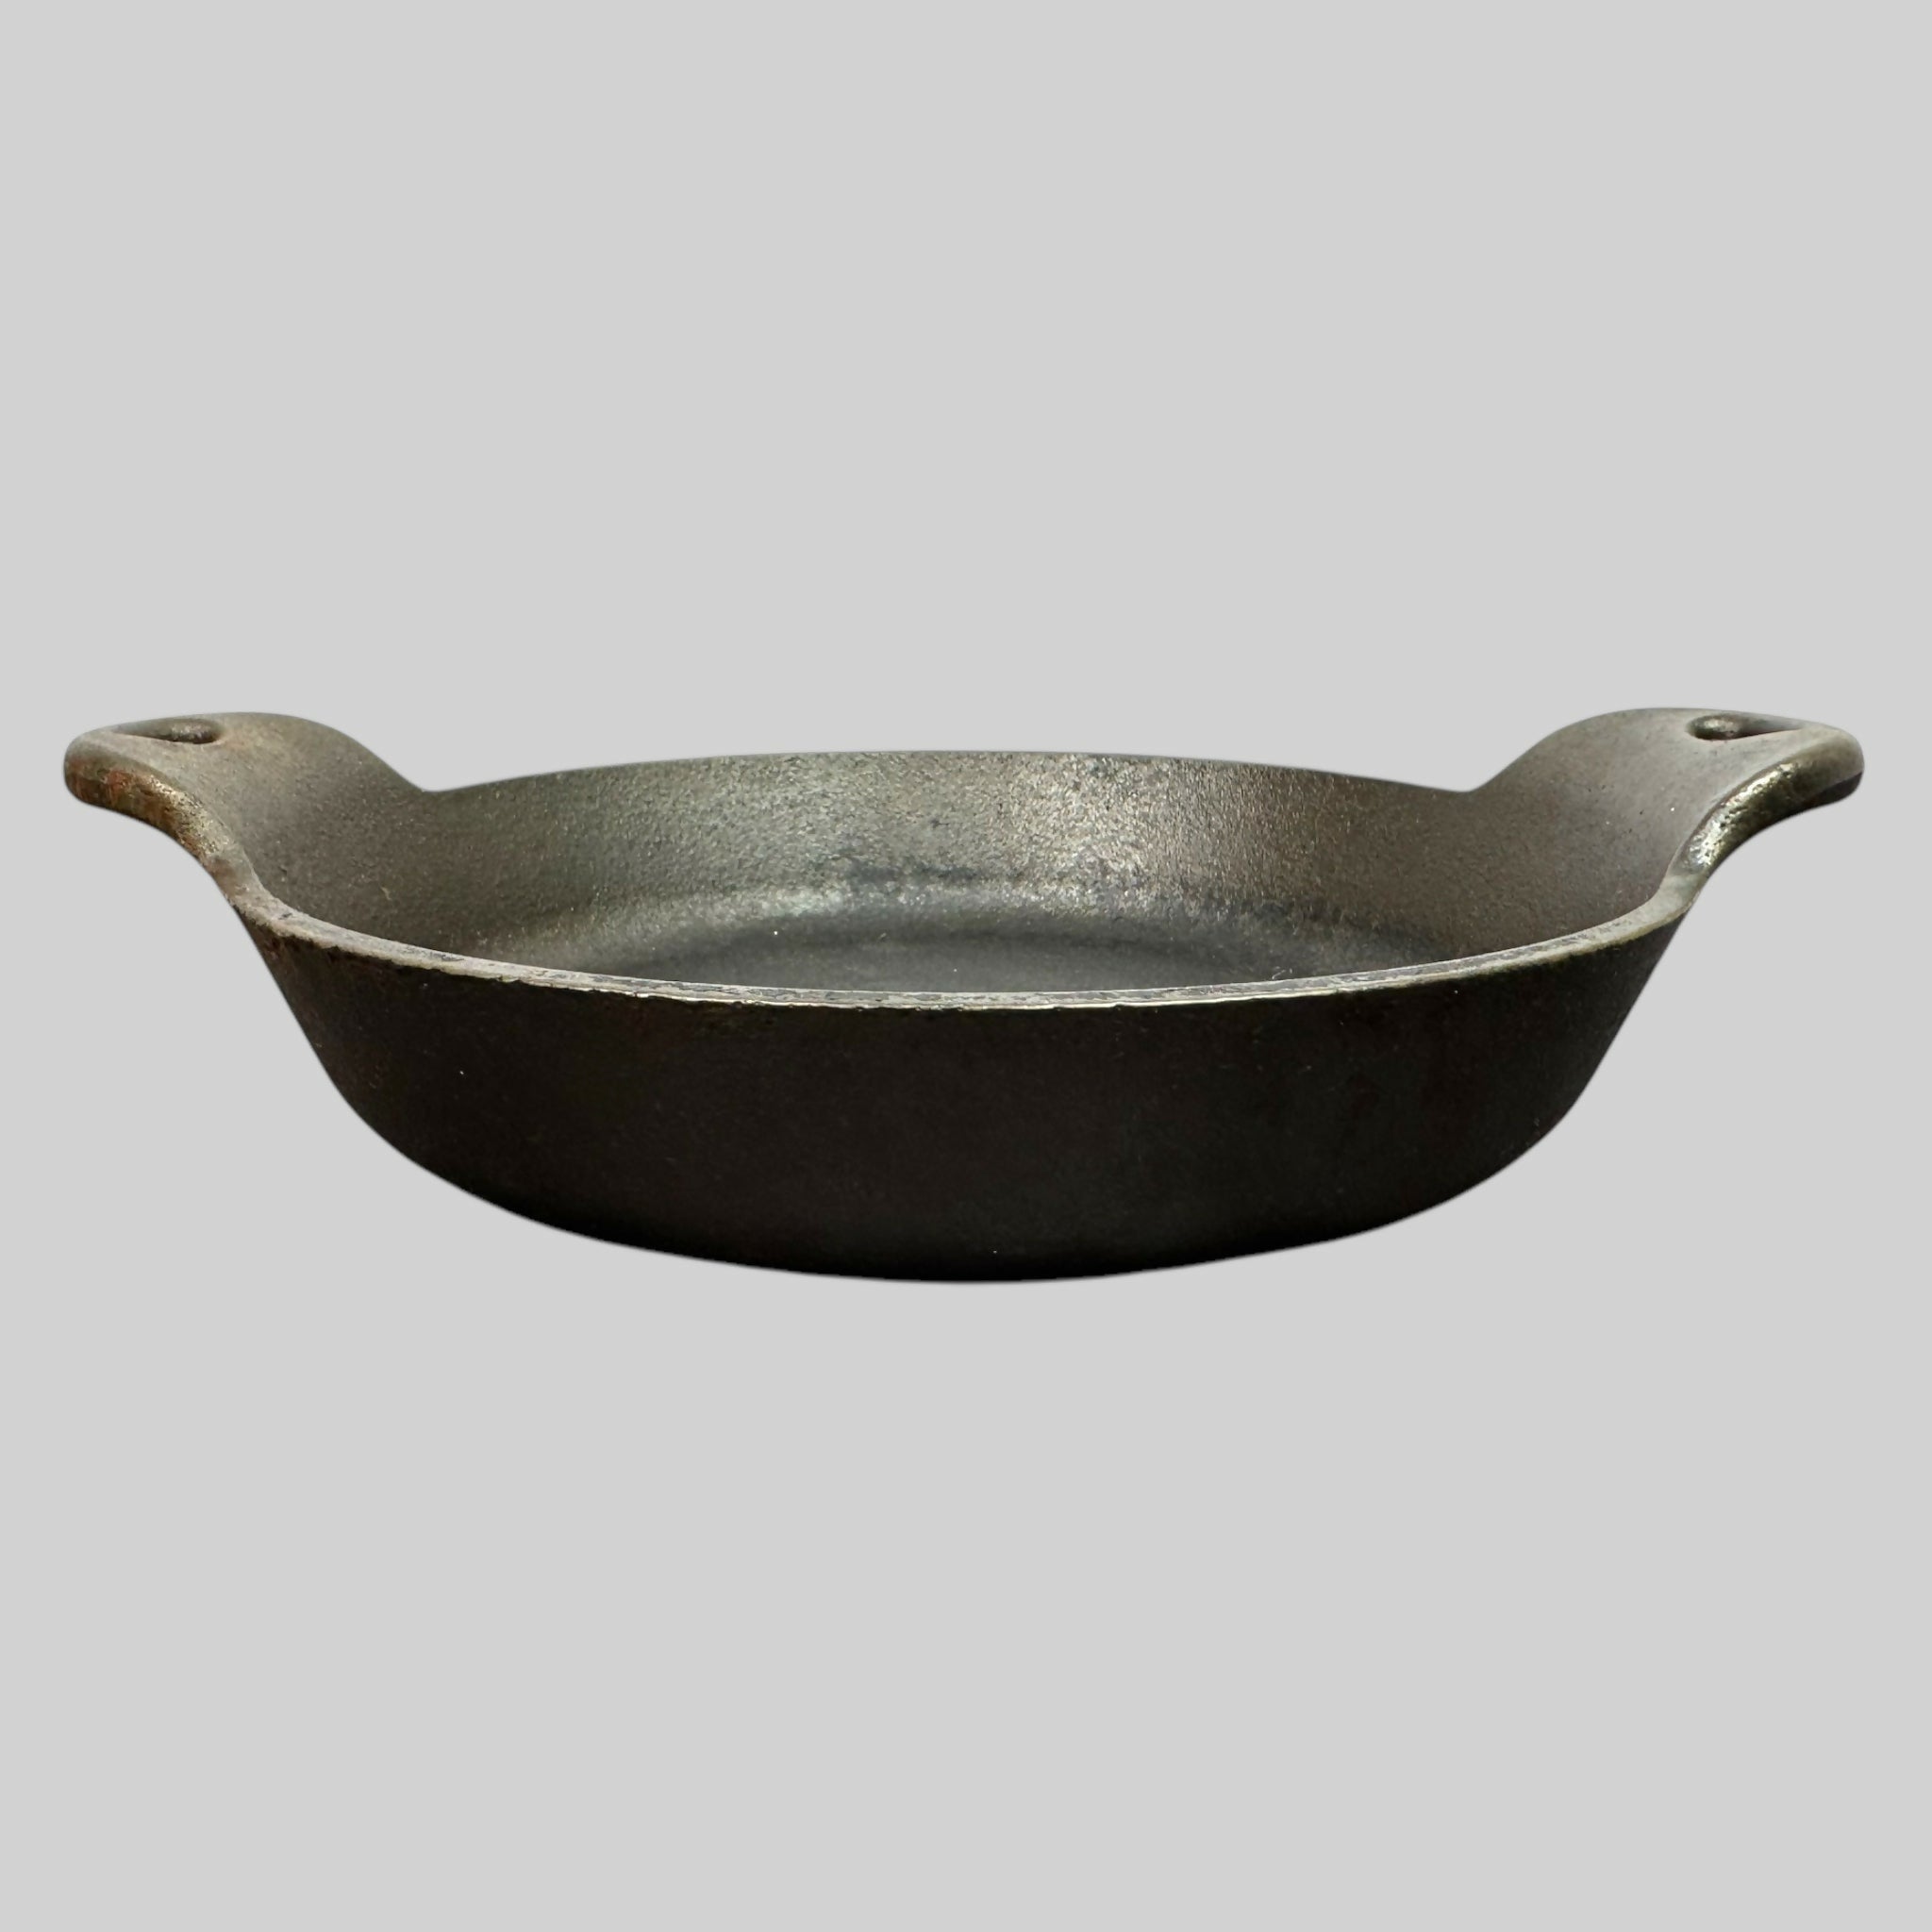
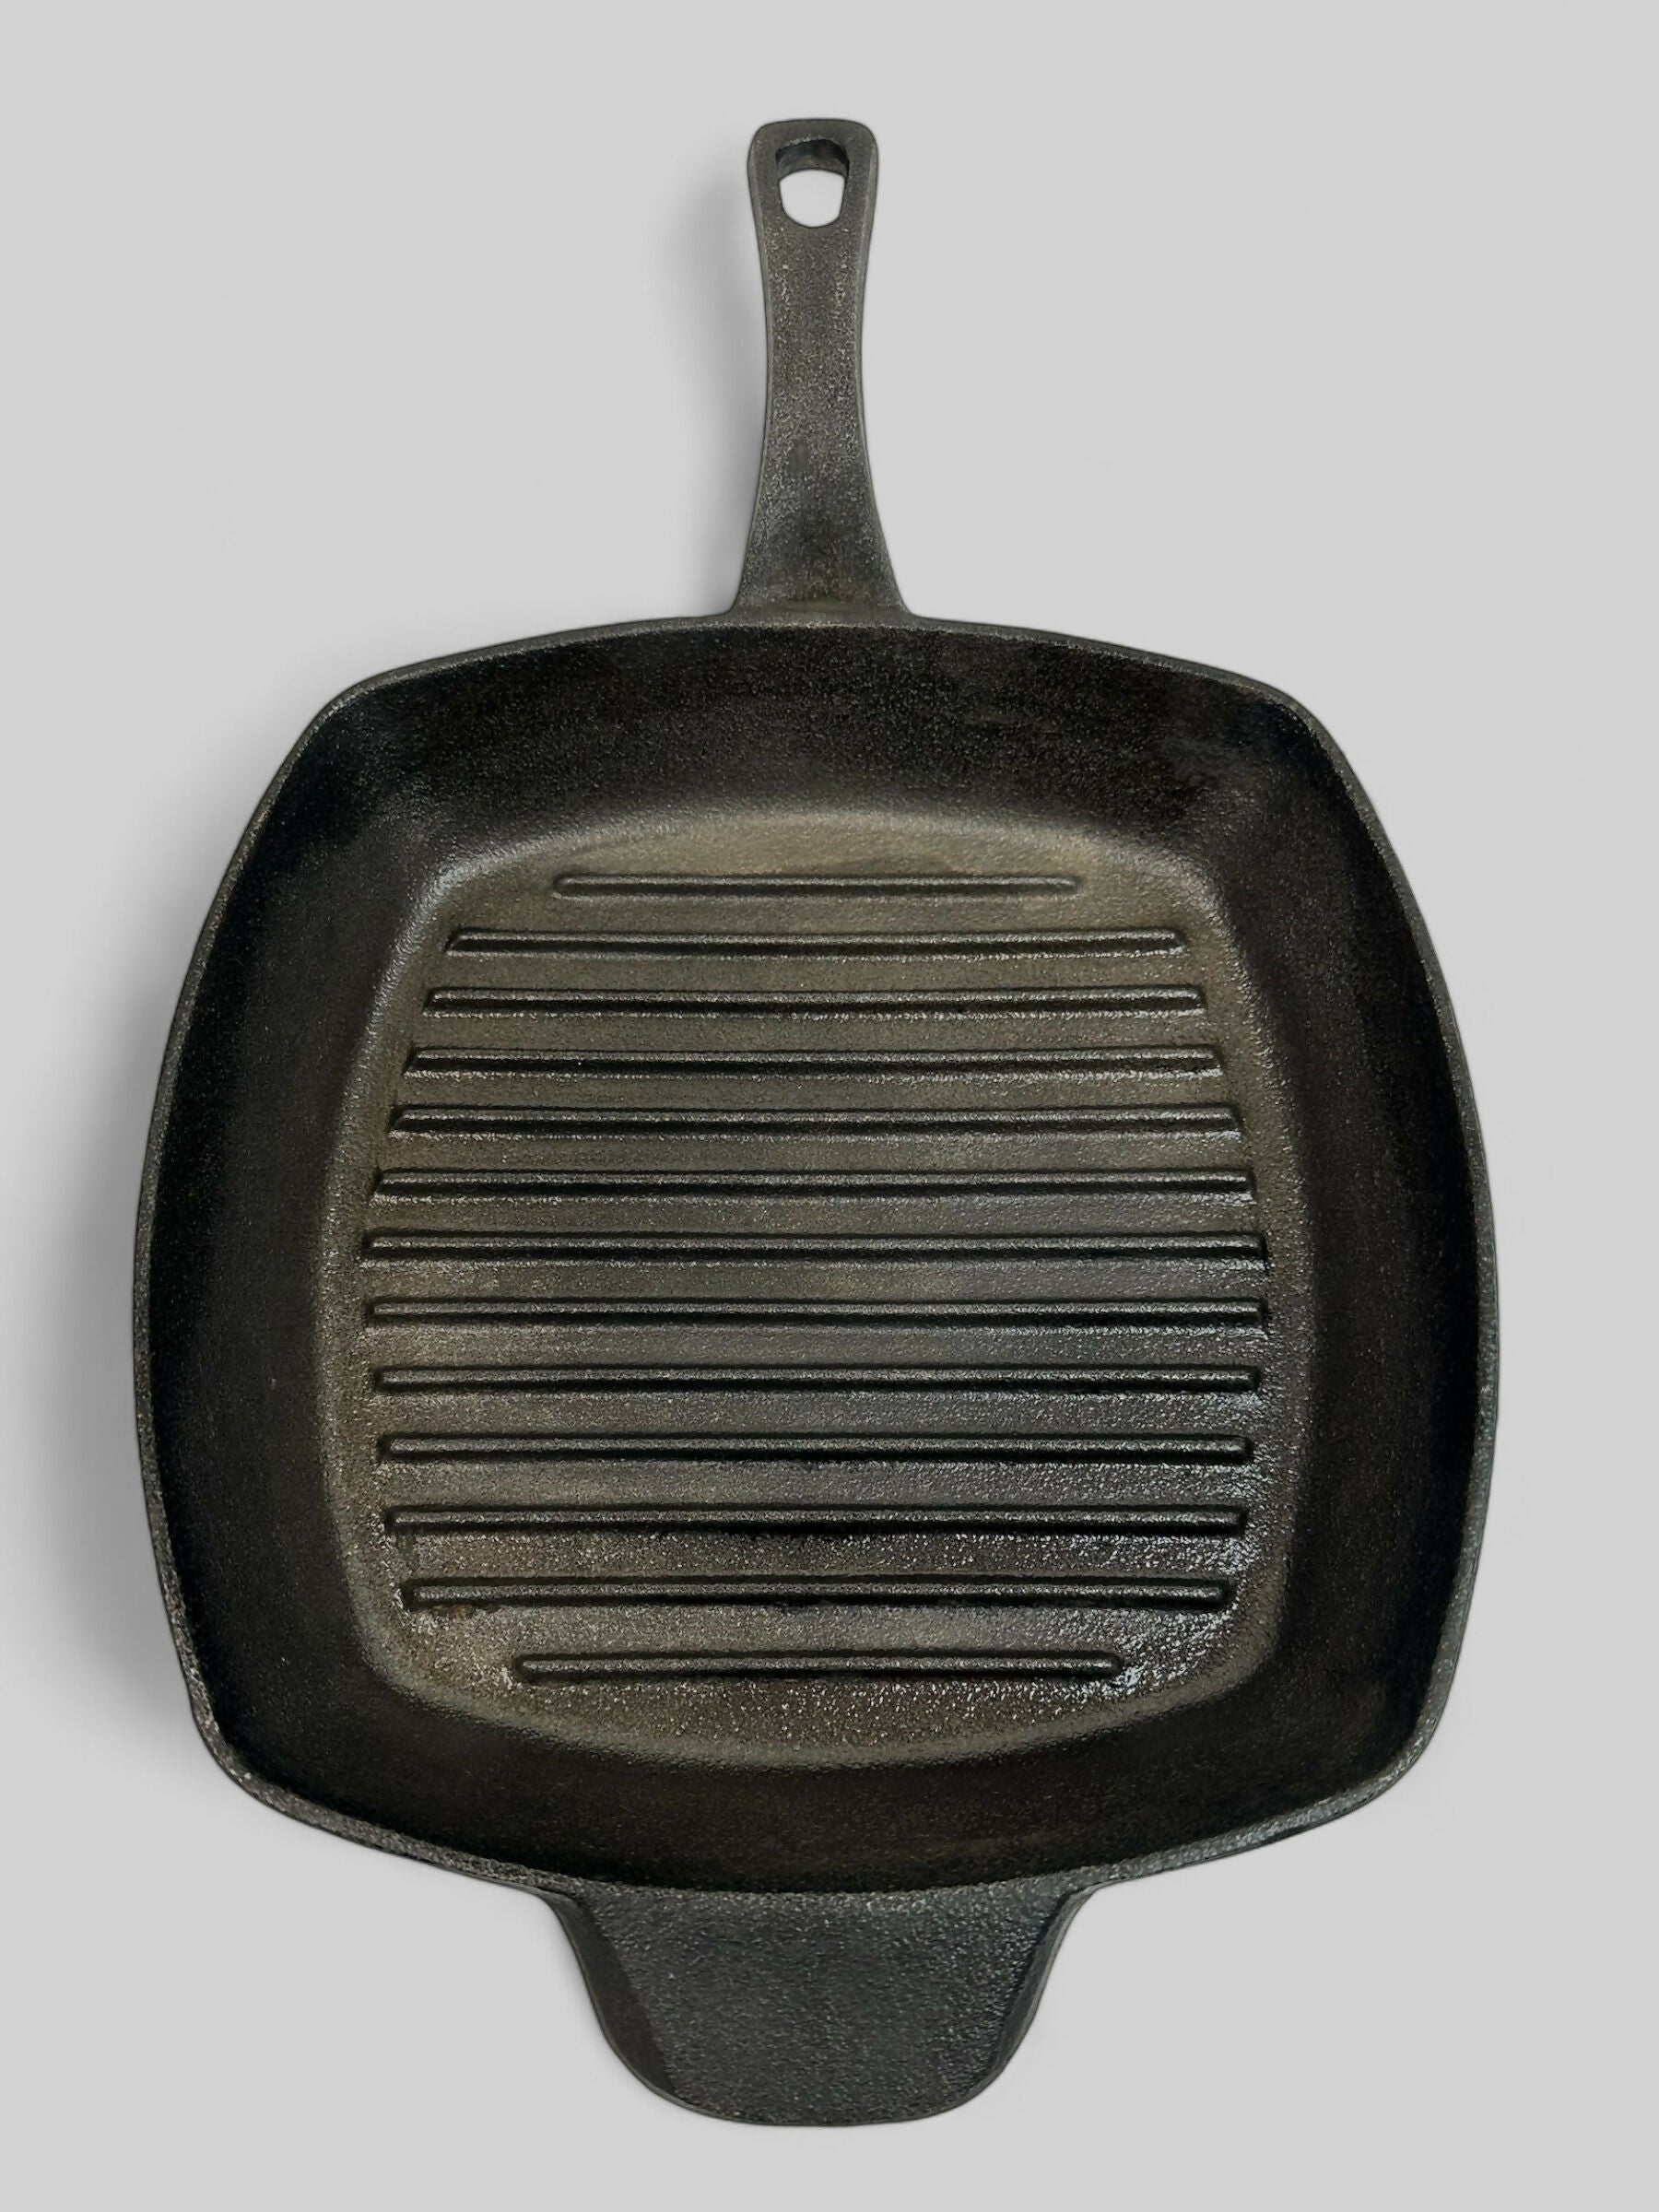
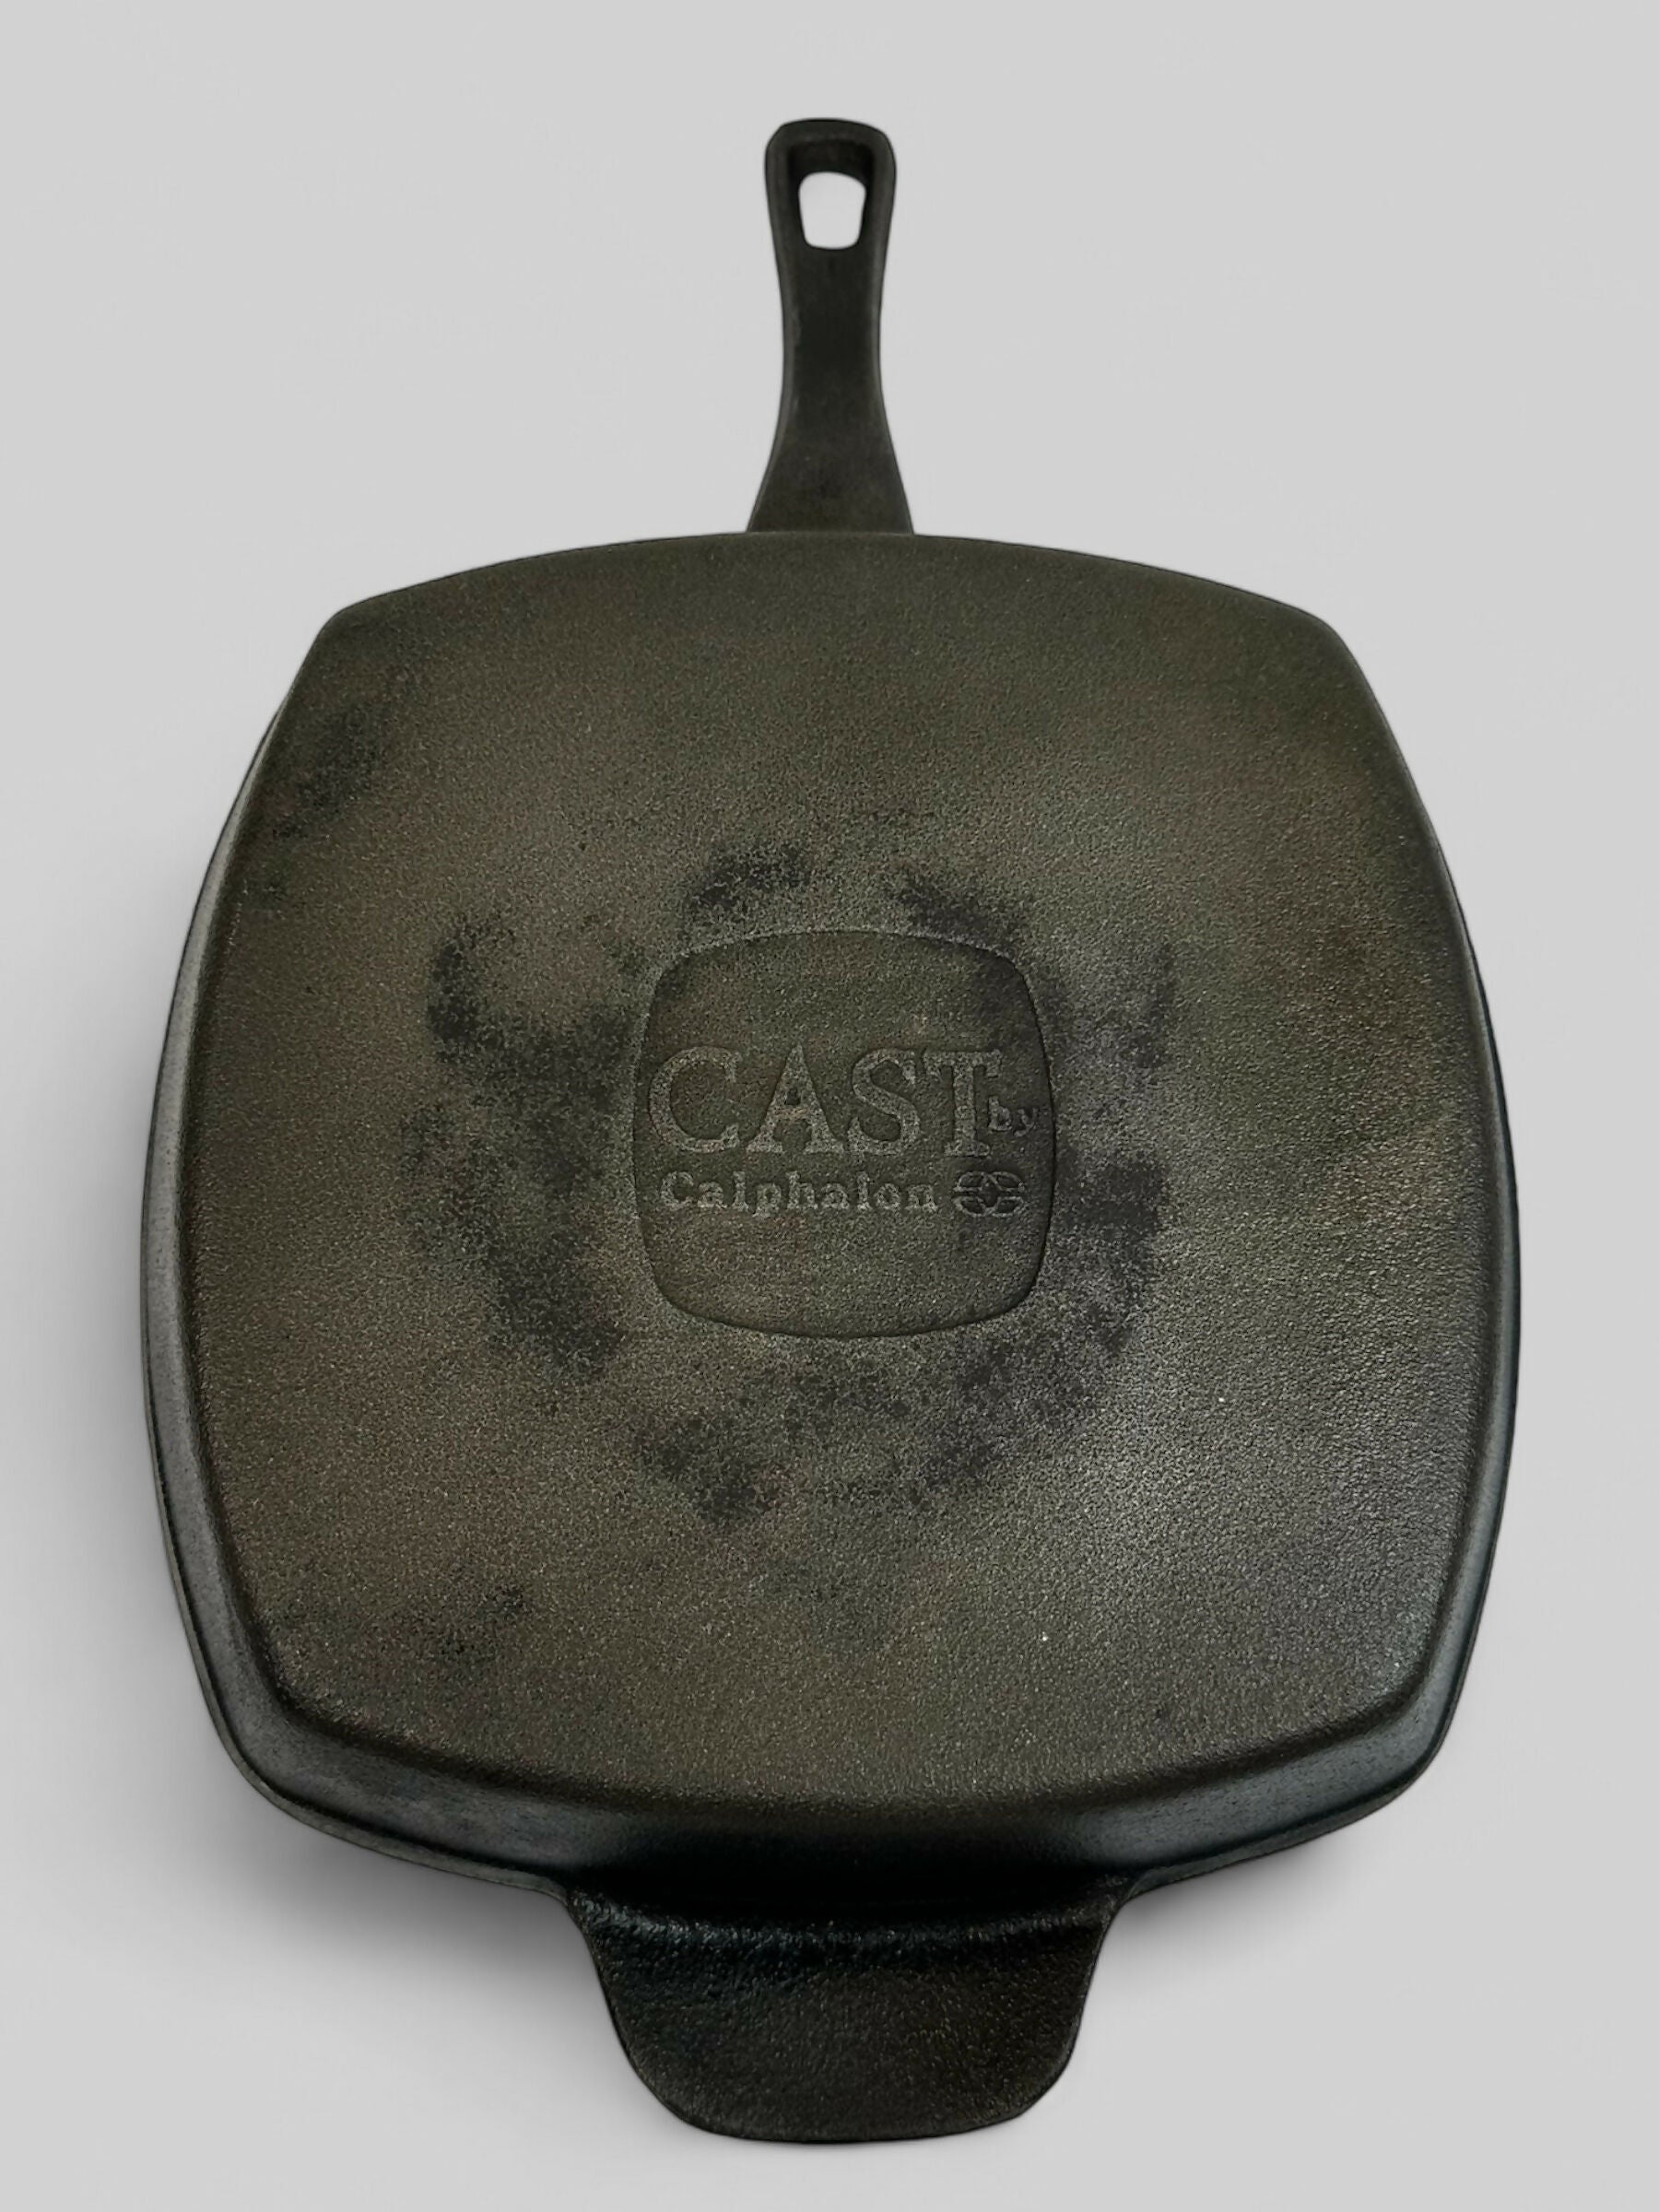
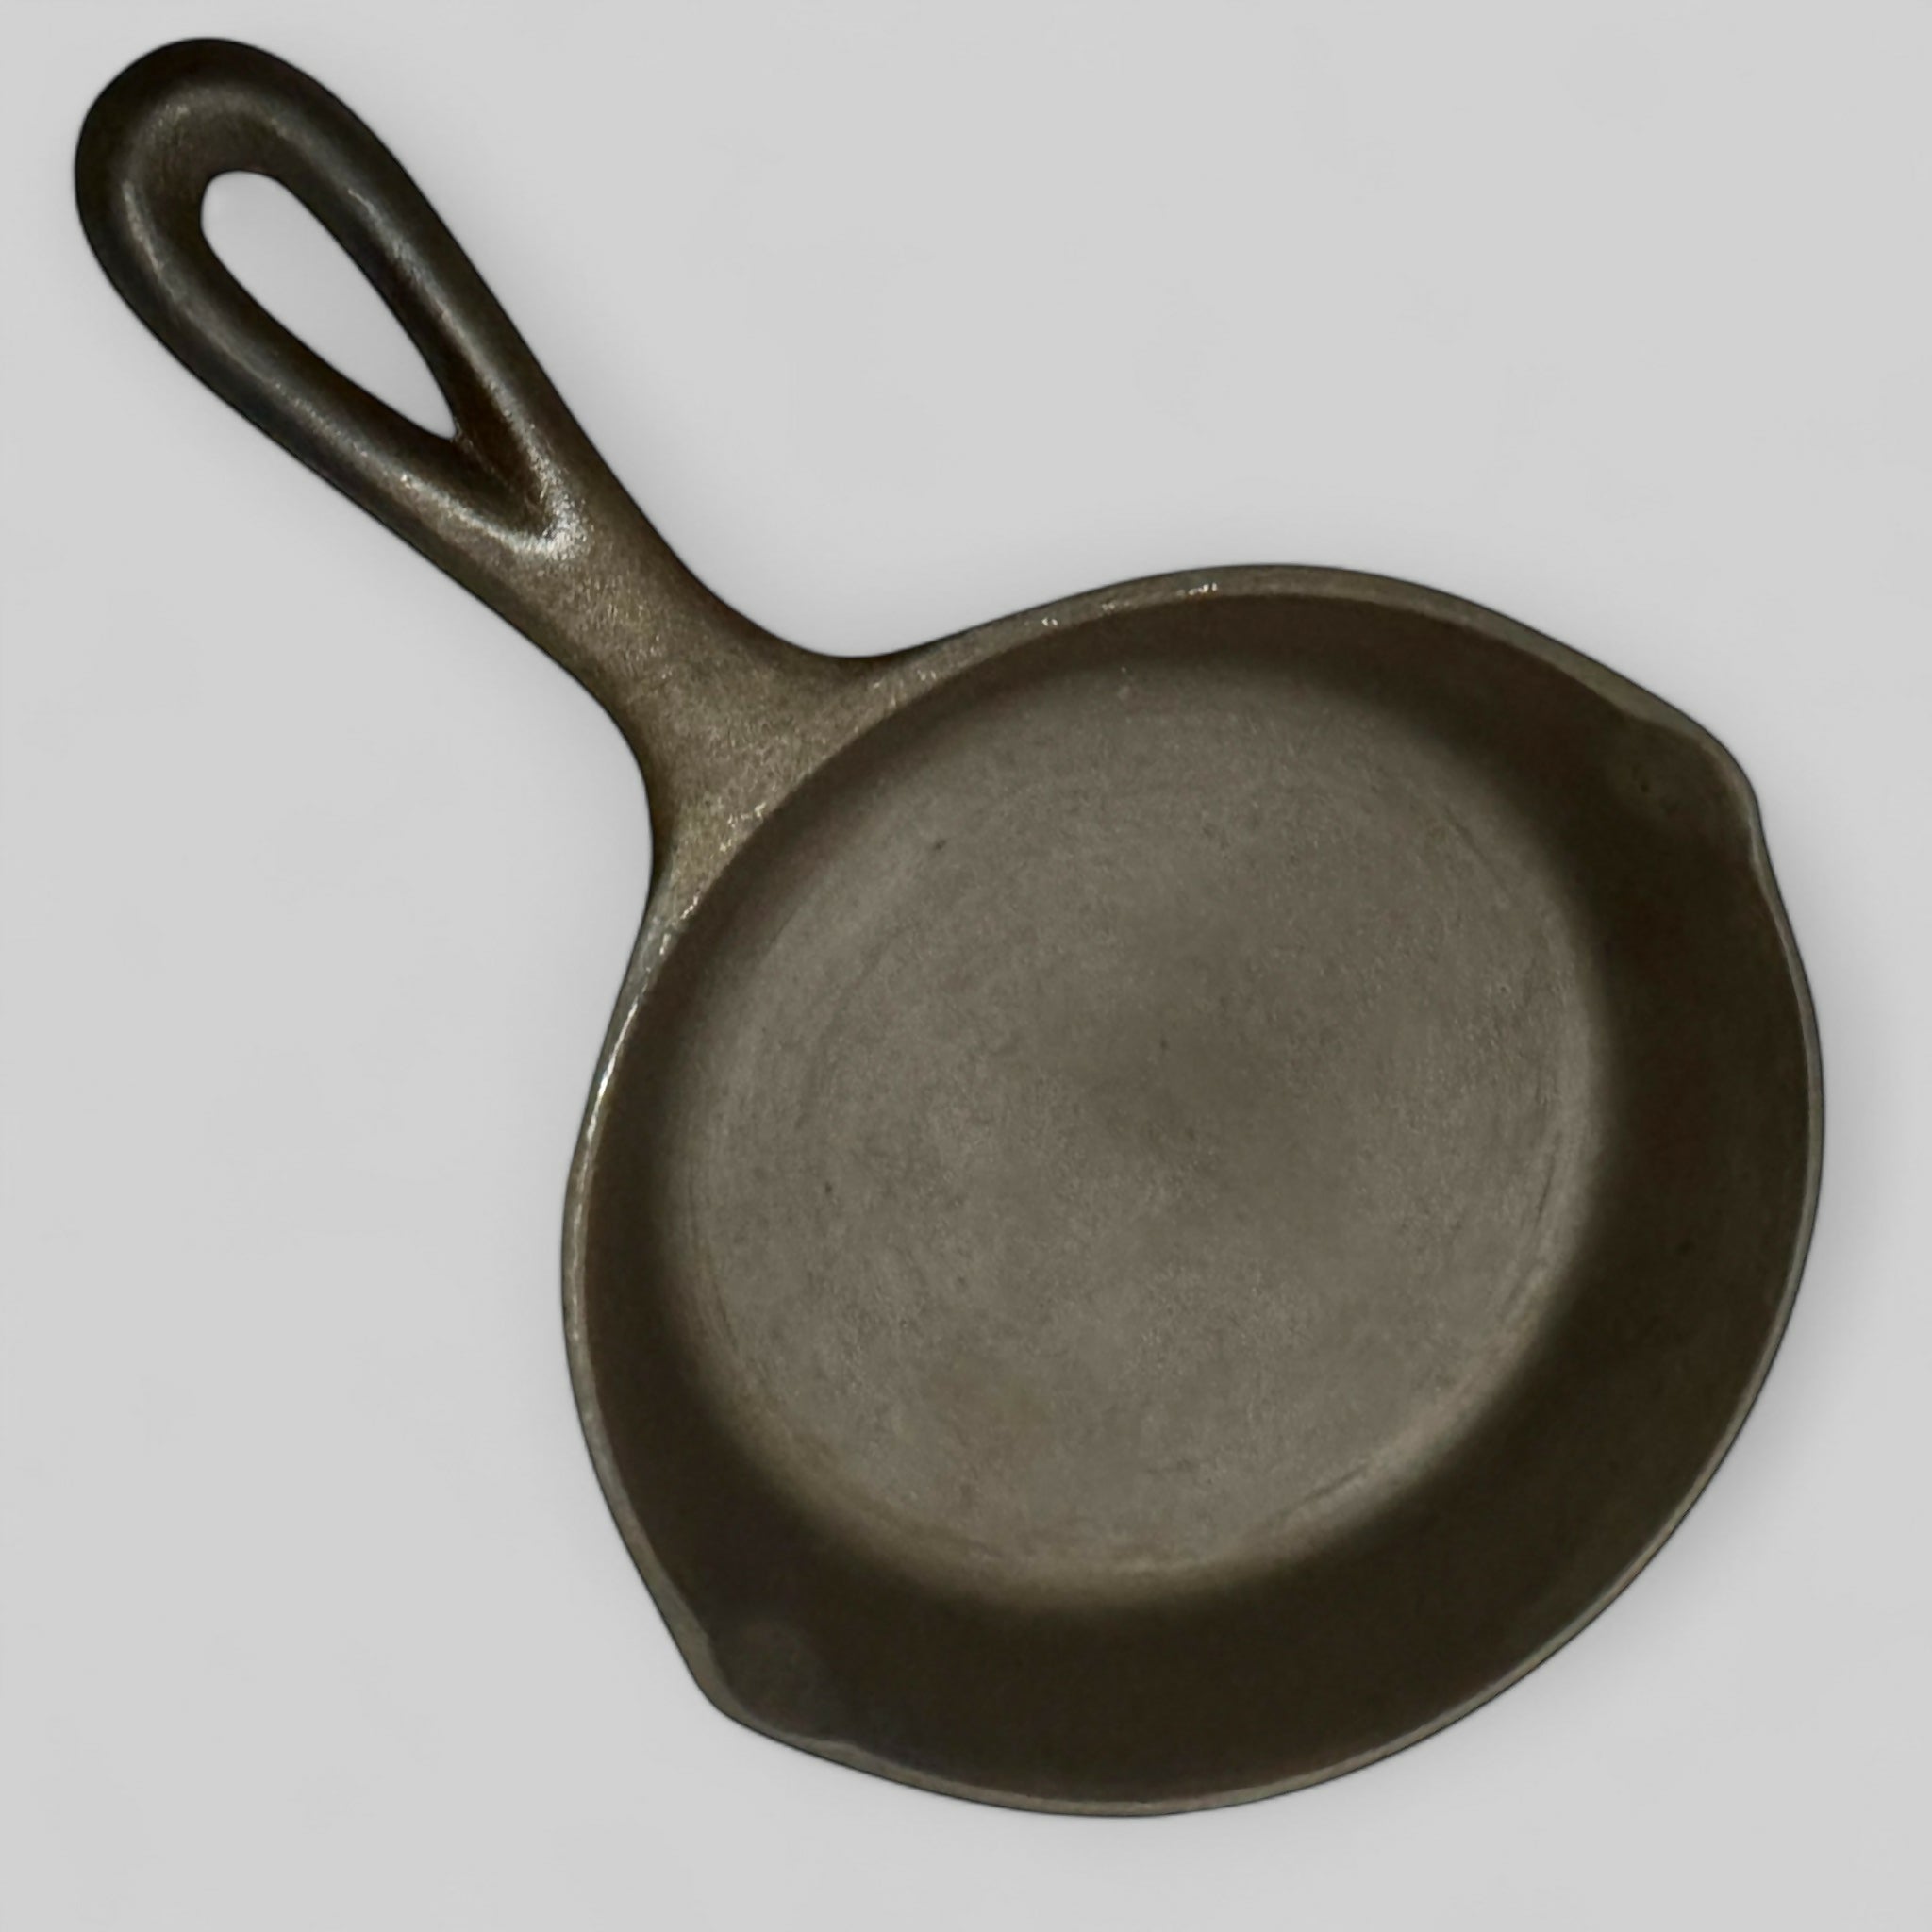
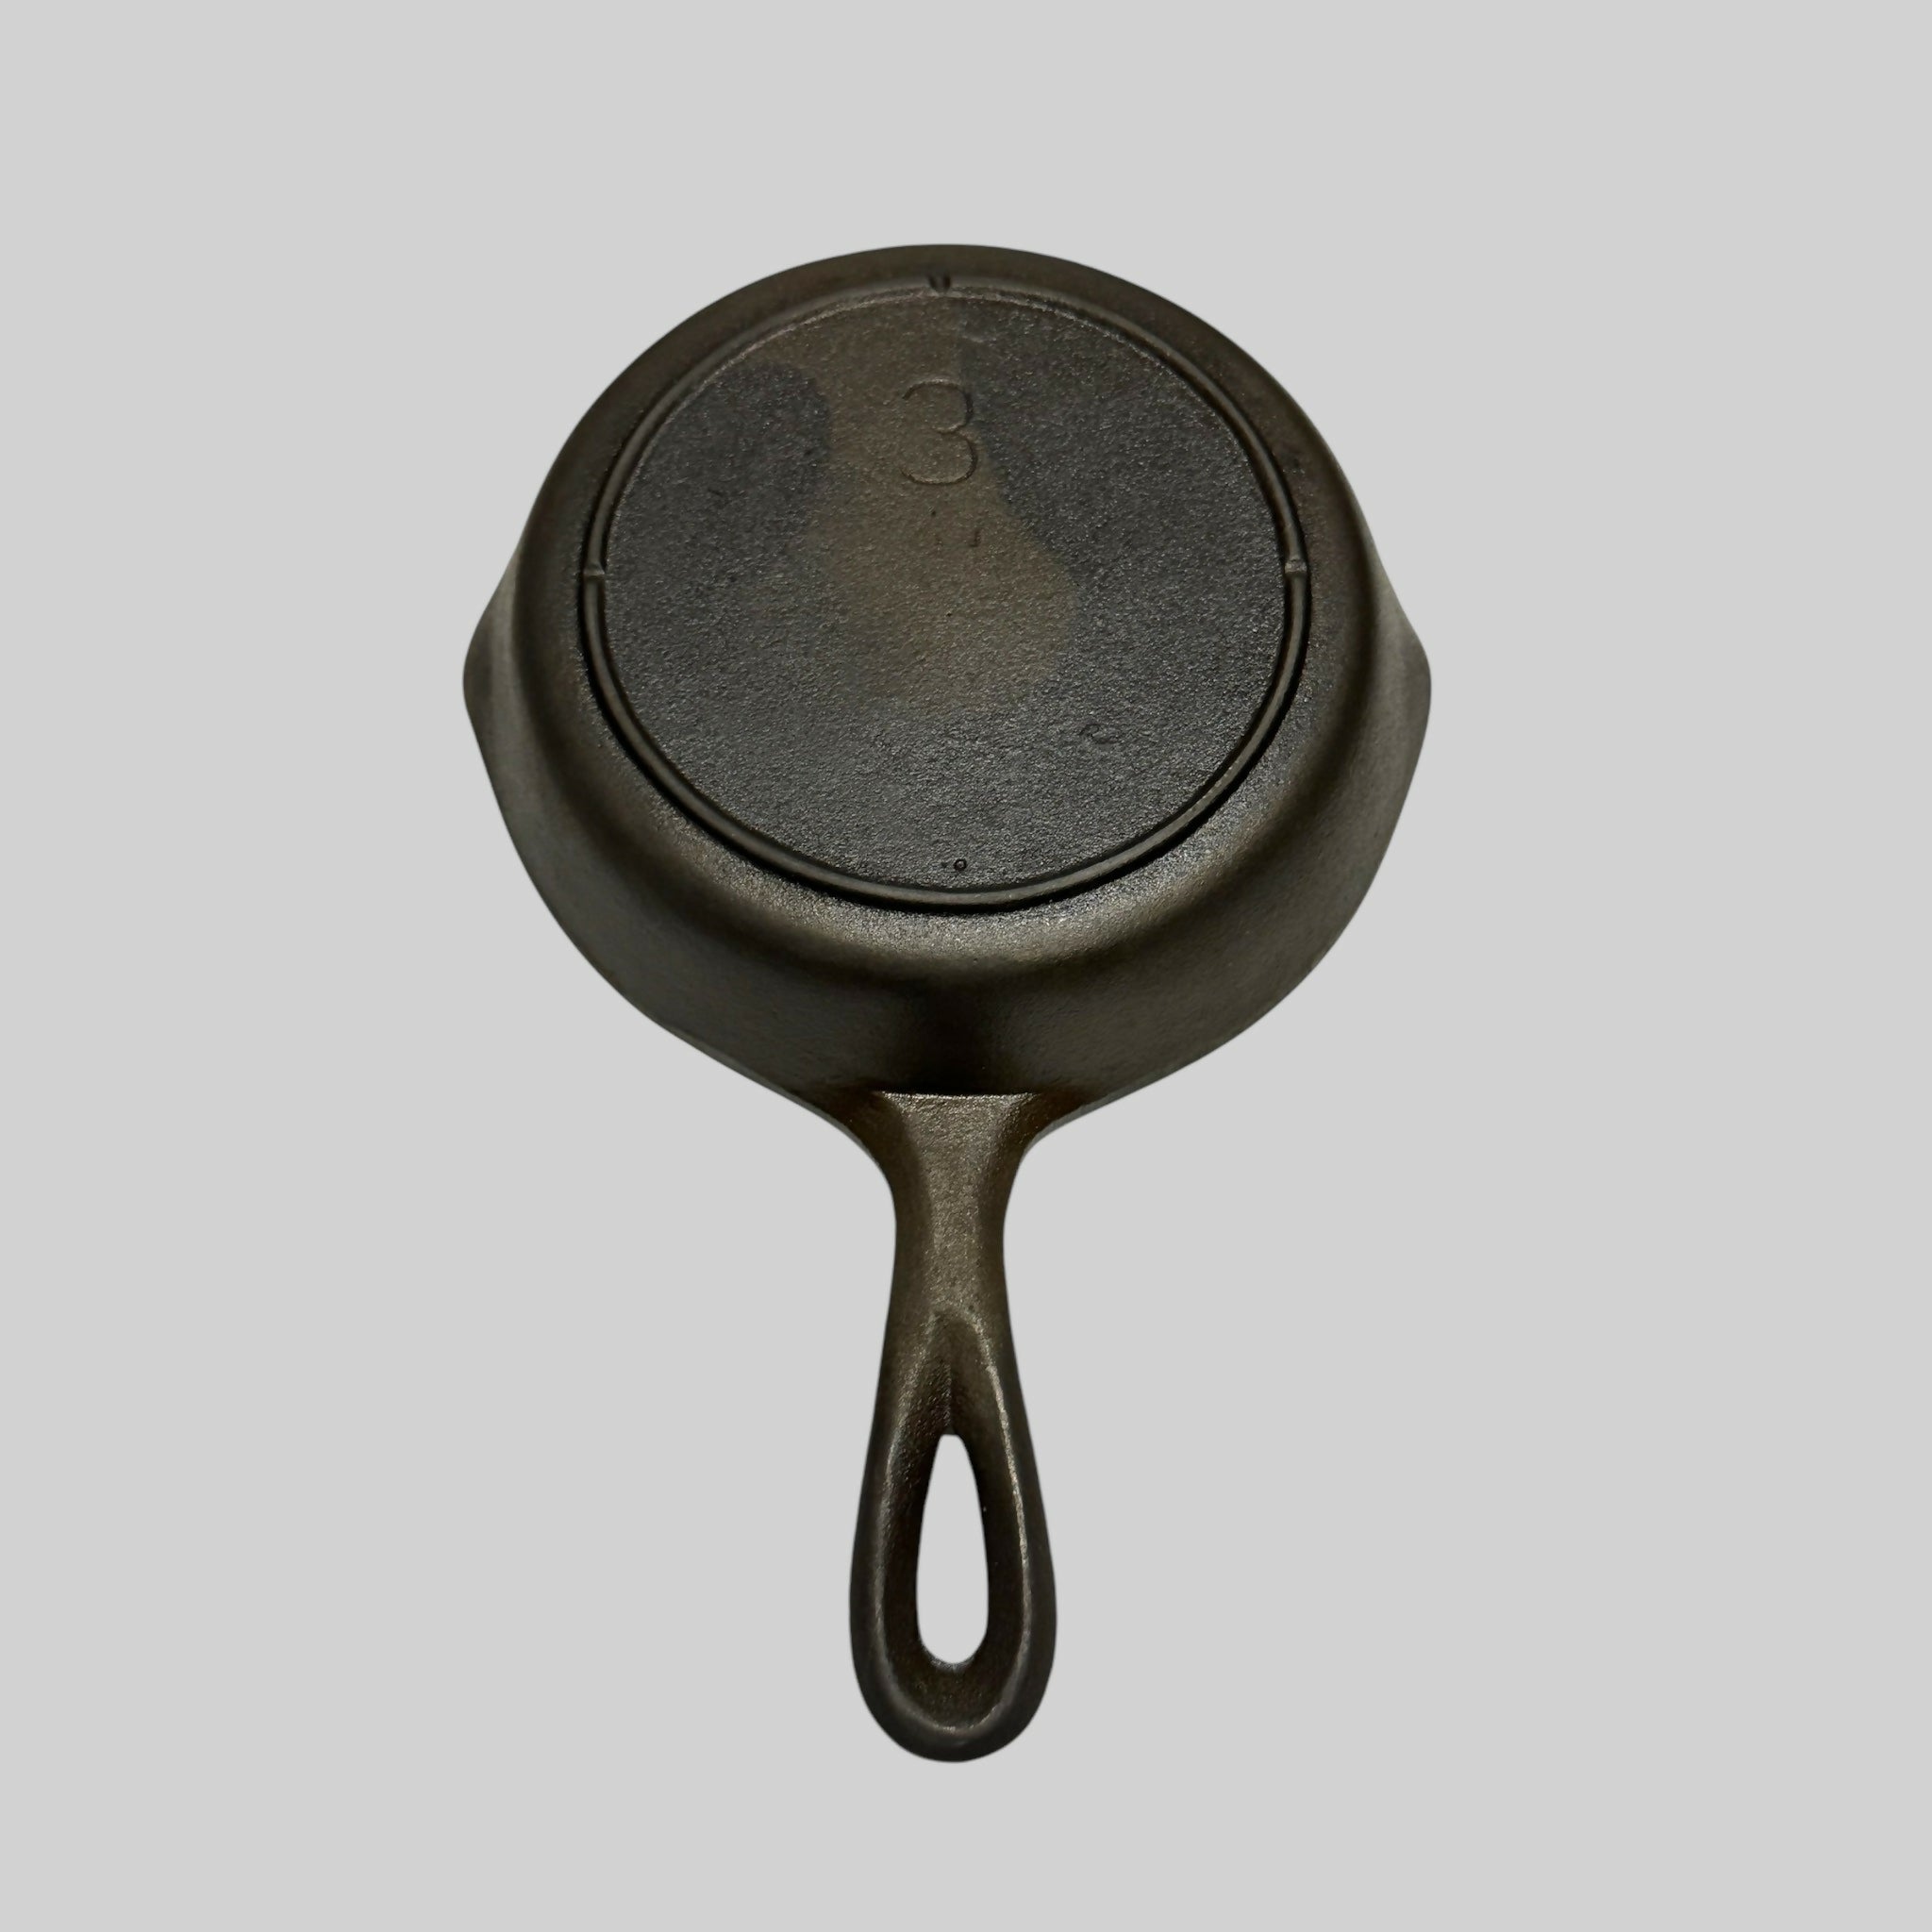
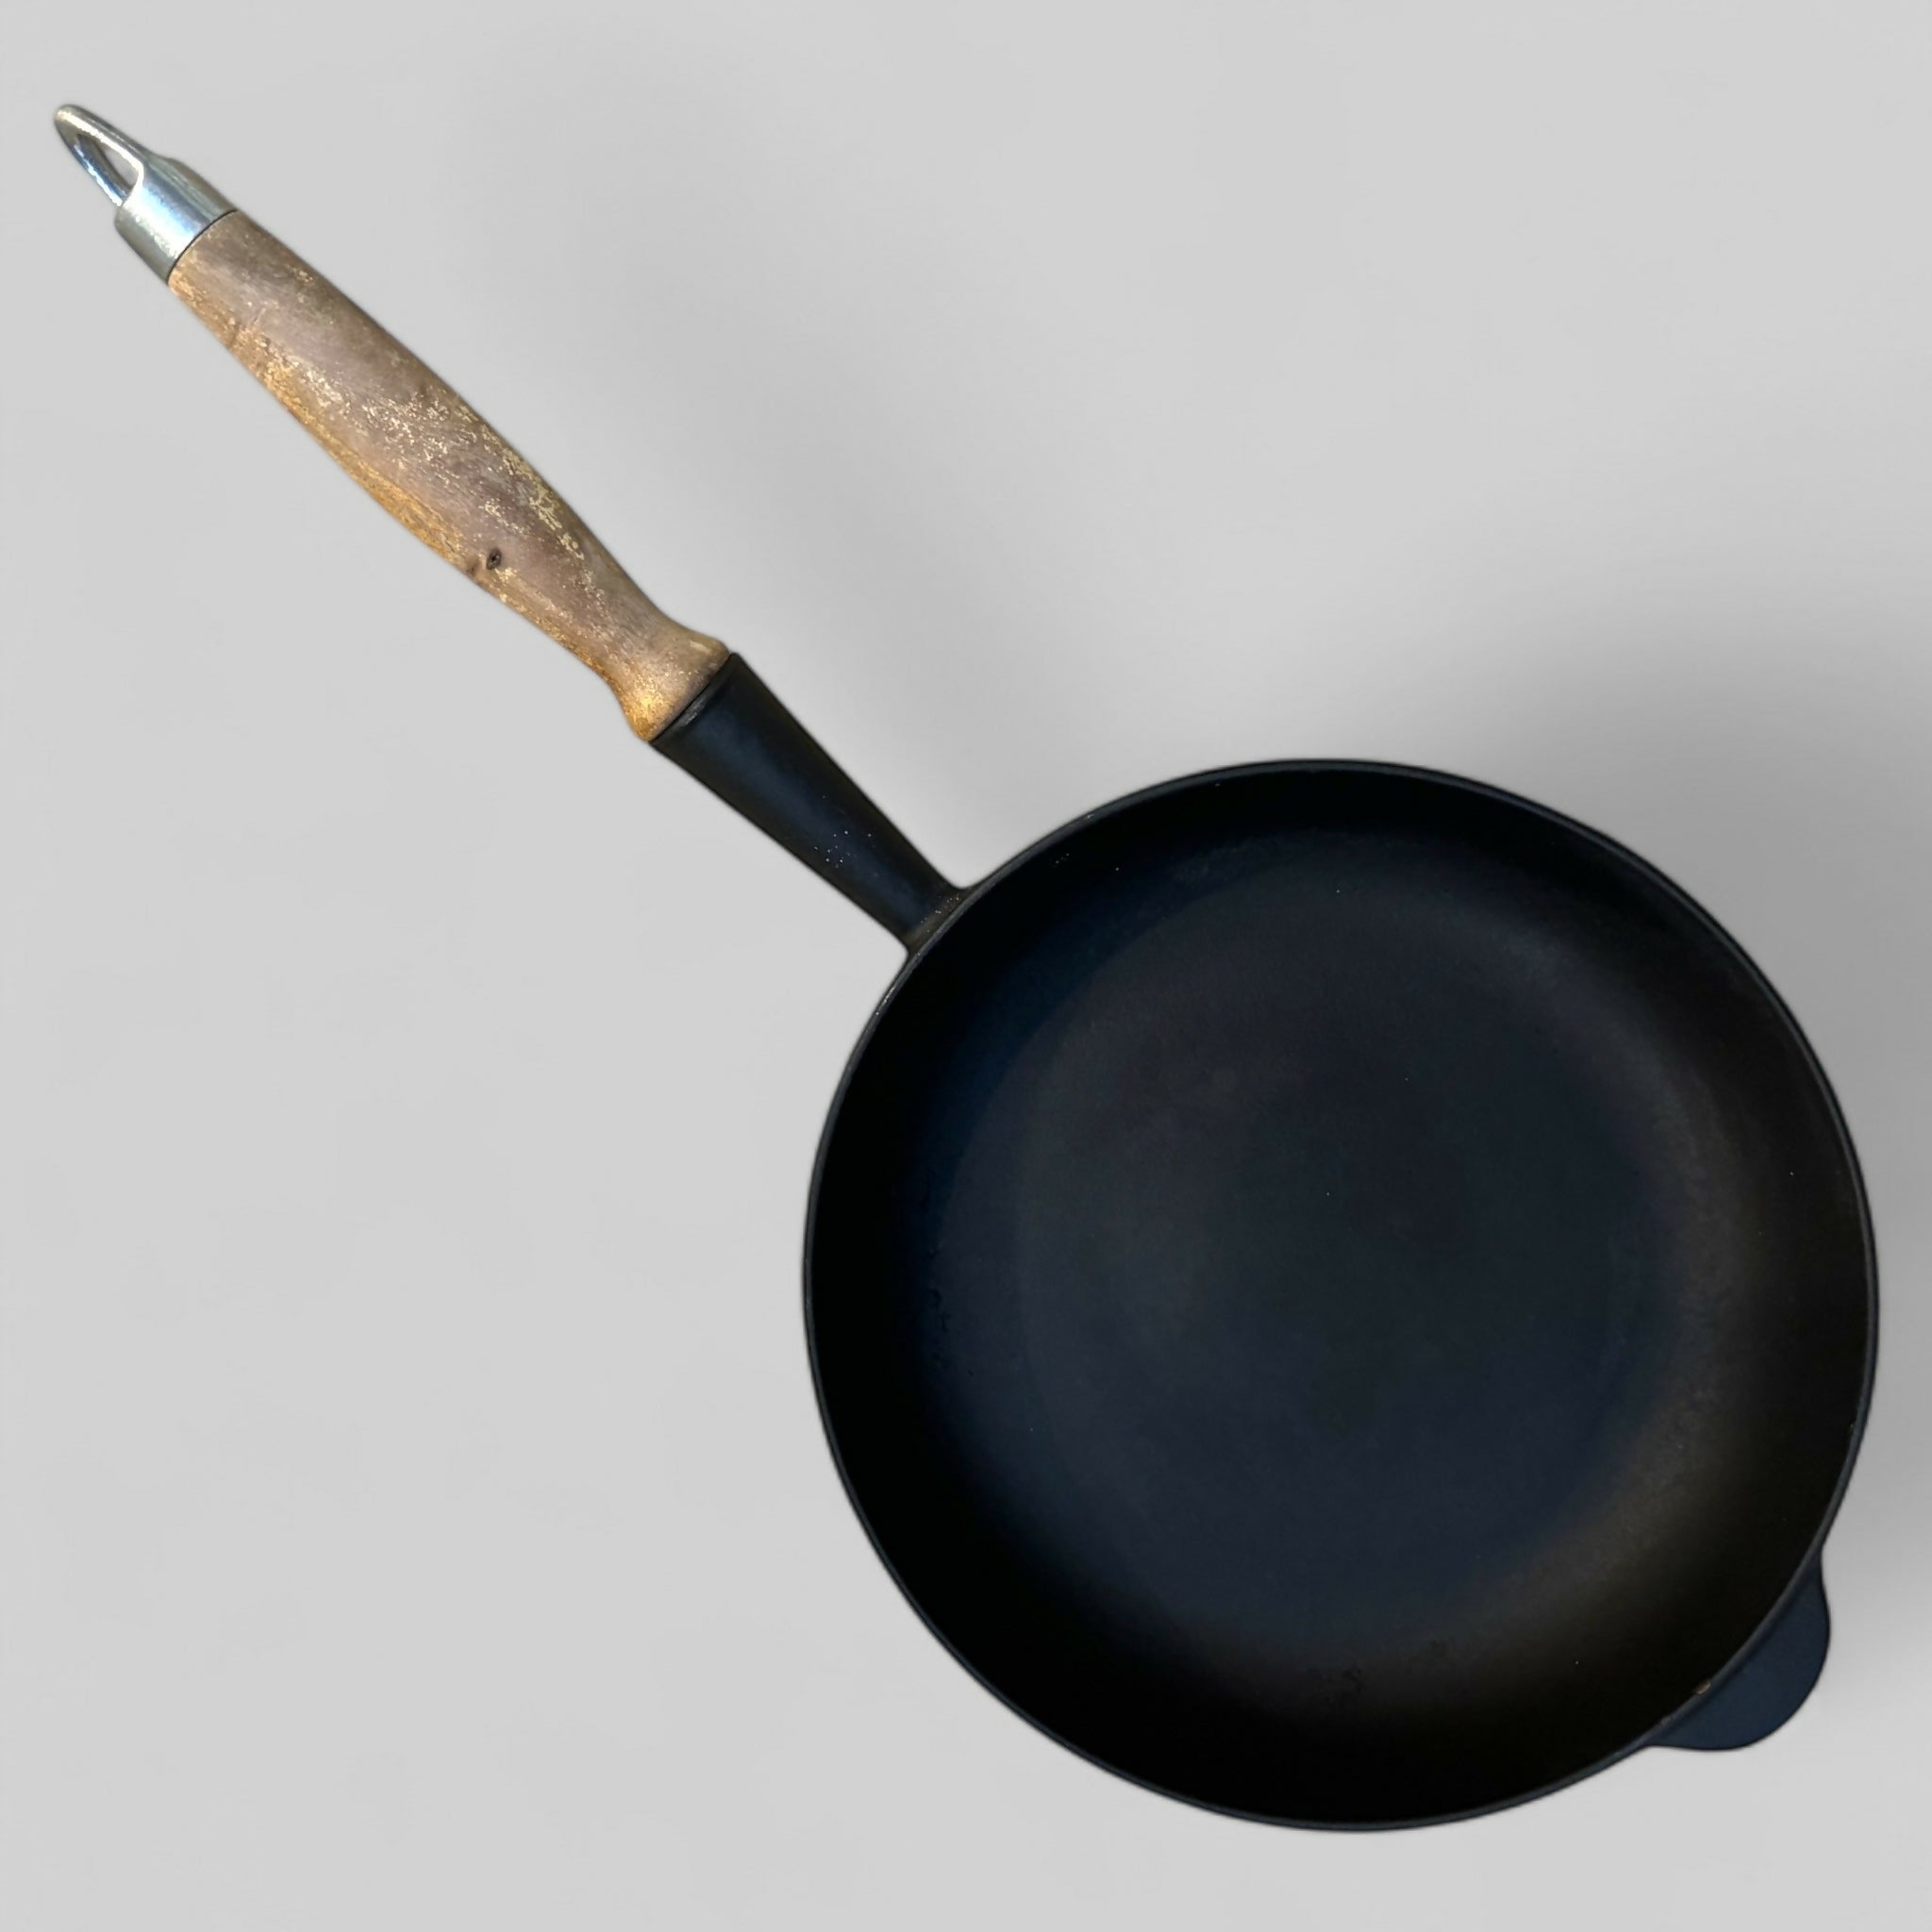
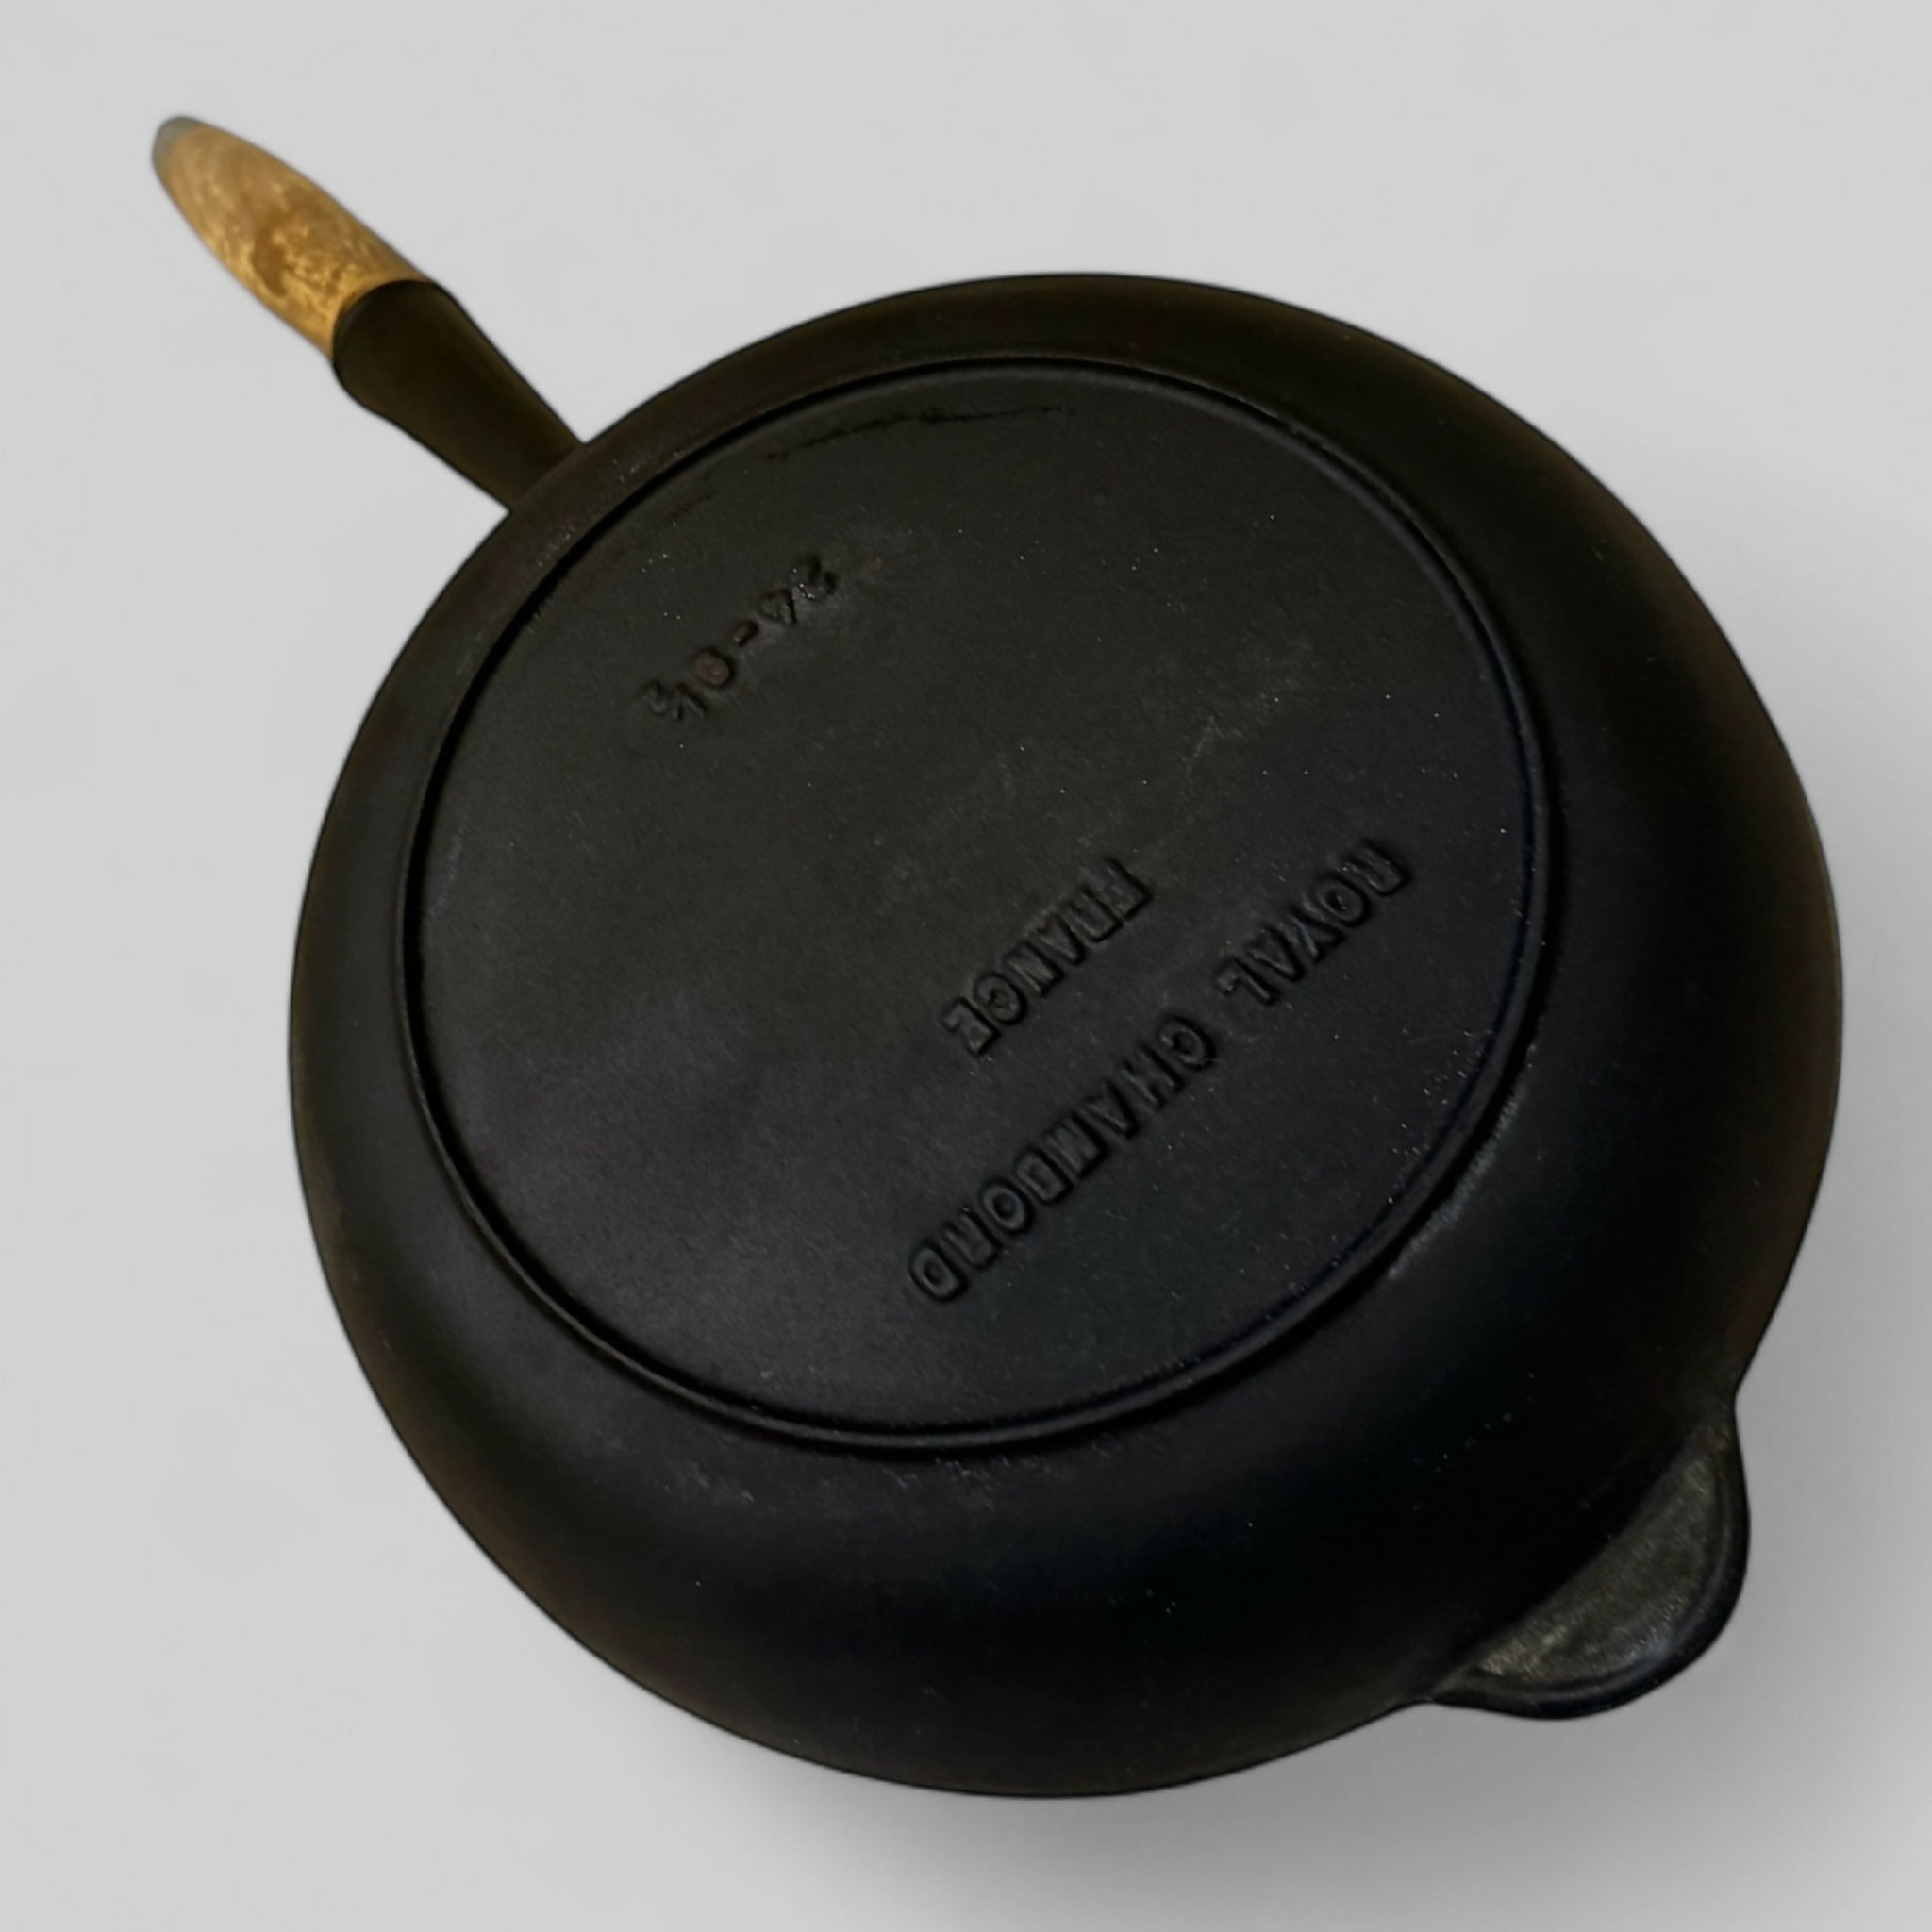
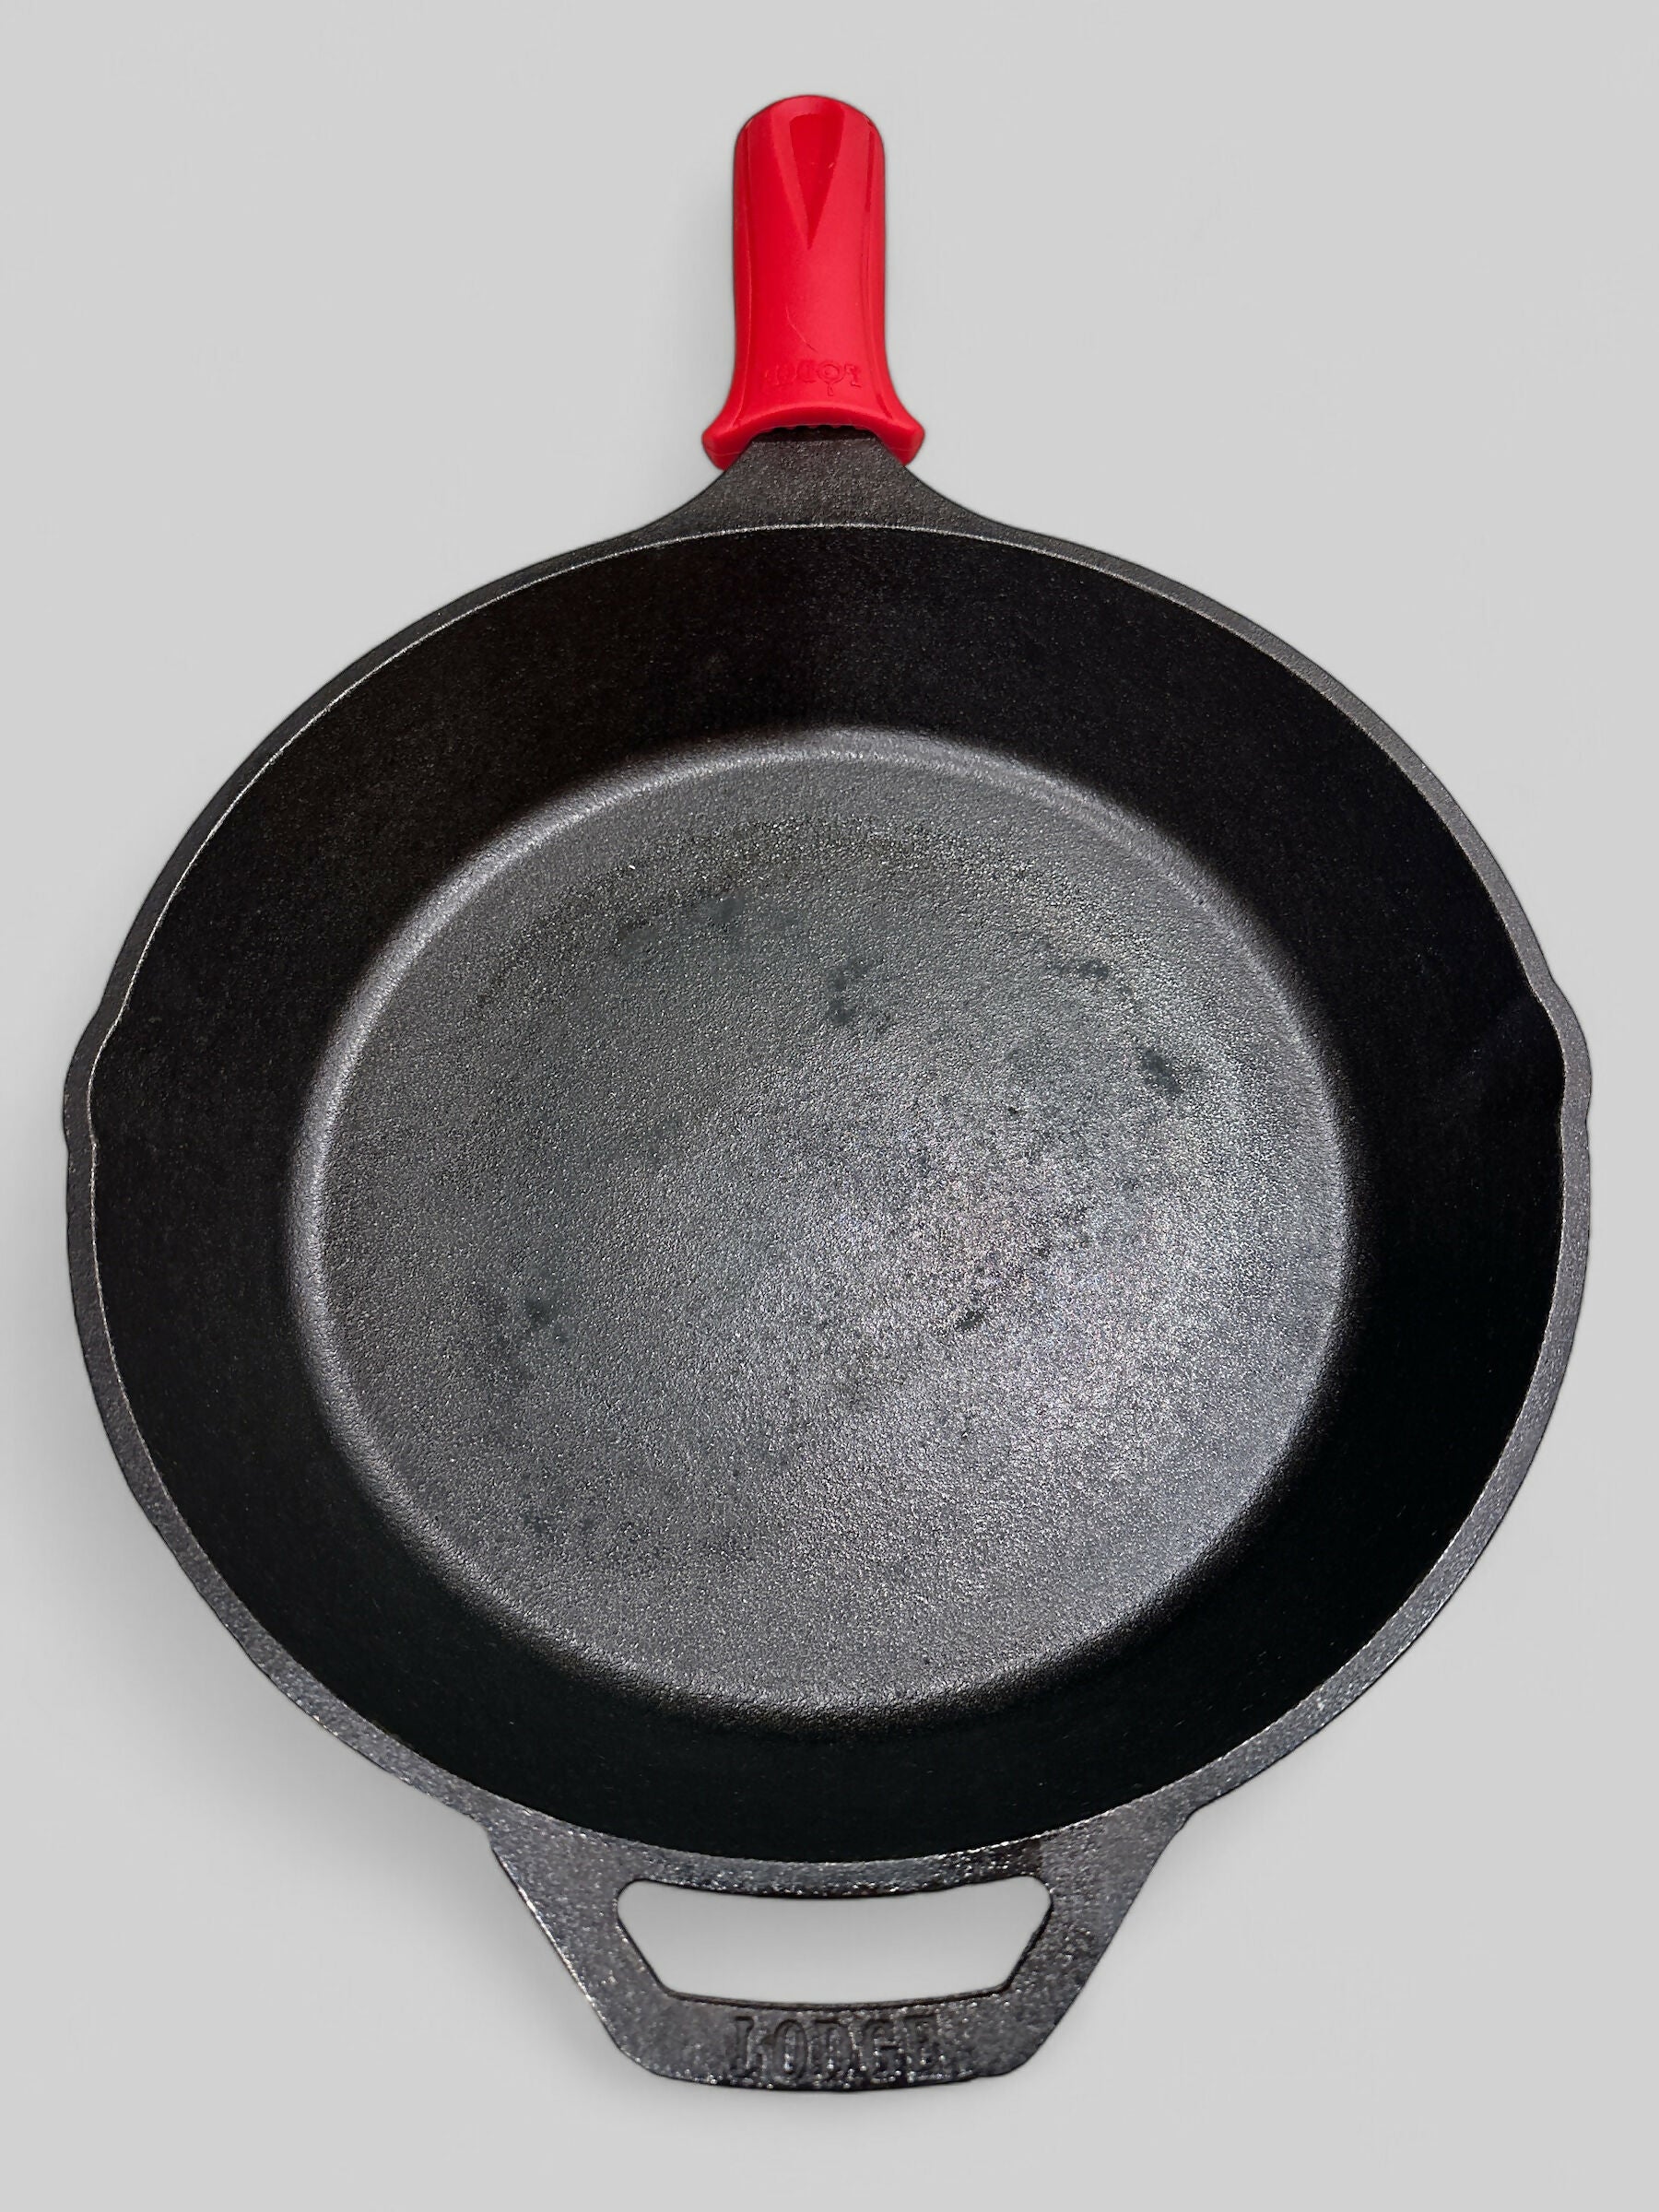
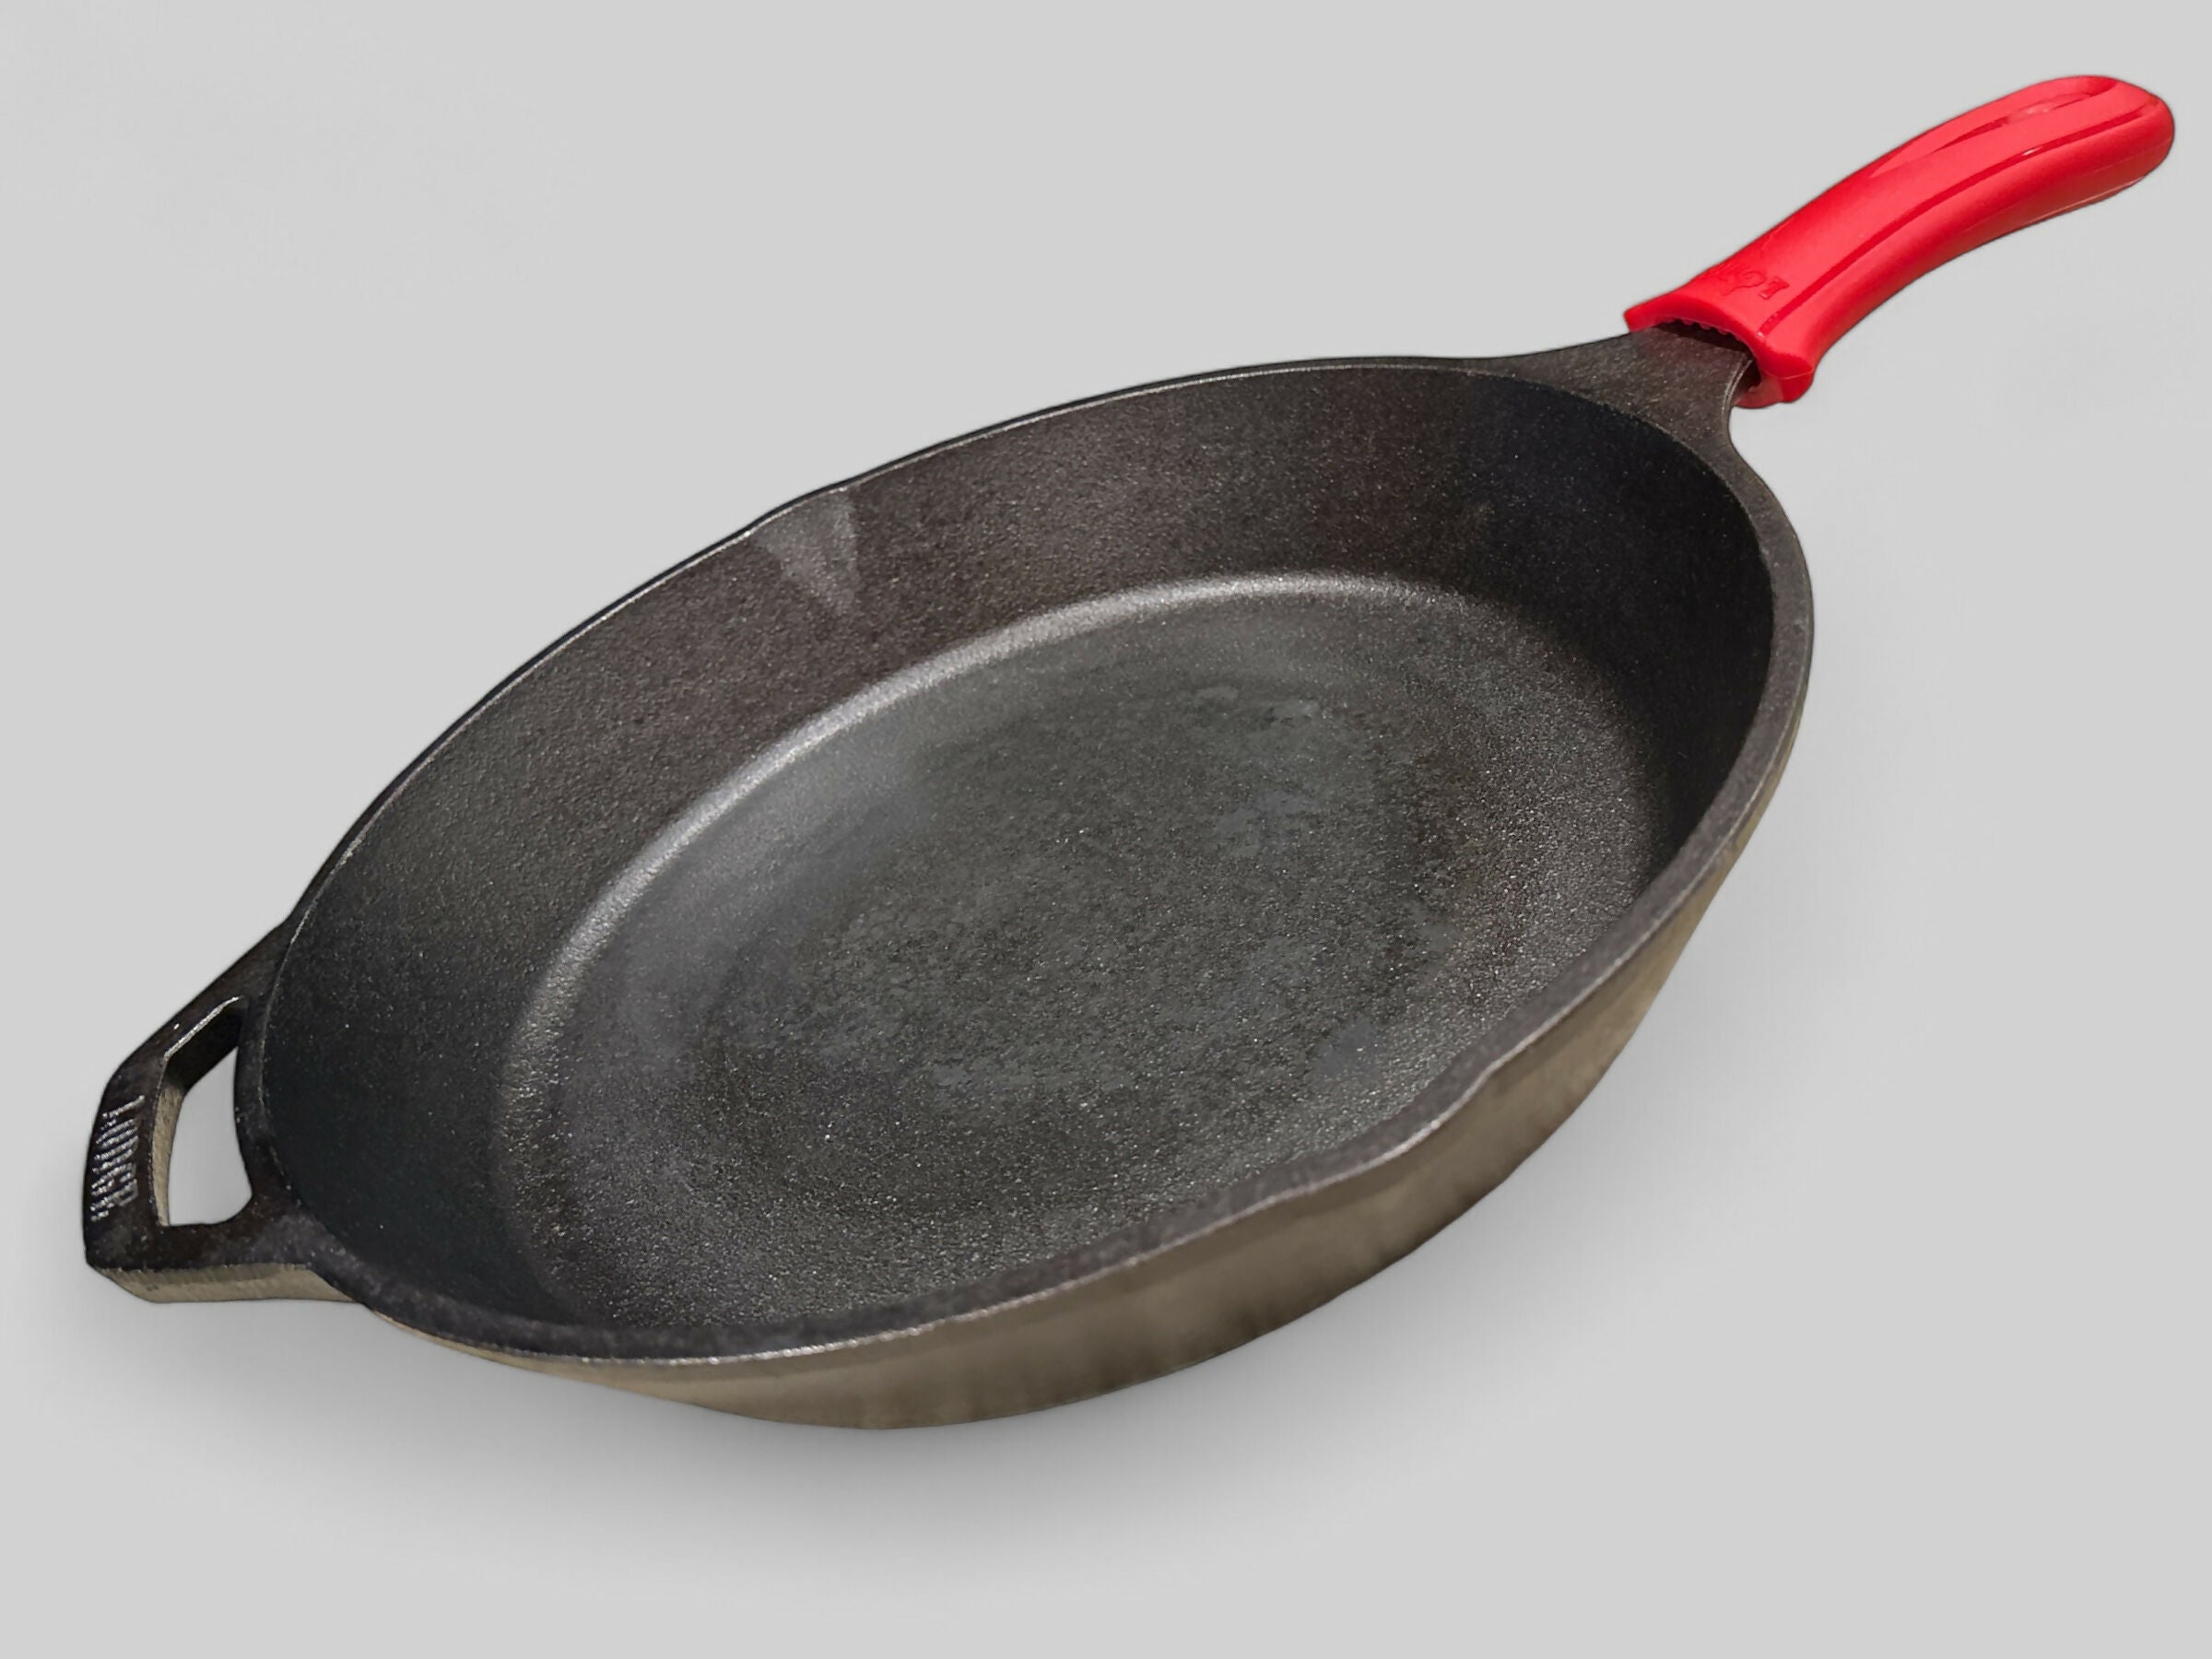
How to Tame and Oil Cast Iron Like a Pro
Cast iron is like a rugged cowboy - tough, but requires some TLC. Brittney swears by it for its durability, but keeping it rust-free and non-stick is a labor of love.
Cleaning Steps:
- Rinse While It’s Warm: Don’t let that grime settle. Rinse it off with warm water before it cools.
- Scrub Without Fear: Grab a stiff brush or sponge. For stubborn bits, add coarse salt and go to town.
- Soap? Maybe. Mild soap is okay once in a blue moon, but don’t overdo it. You don’t want to strip the seasoning.
- Dry Like Your Life Depends on It: Pat it down and pop it on the stove on low heat until every drop of water is gone. Rust hates dry pans.
Re-Seasoning Like a Boss:
- Oil Up: Thinly coat it with vegetable or flaxseed oil. Think dewy, not drenched.
- Into the Oven: Flip it upside down and bake at 400°F for an hour. Place foil below to catch drips.
- Repeat if Needed: If it’s not looking right, repeat. Cast iron loves patience.
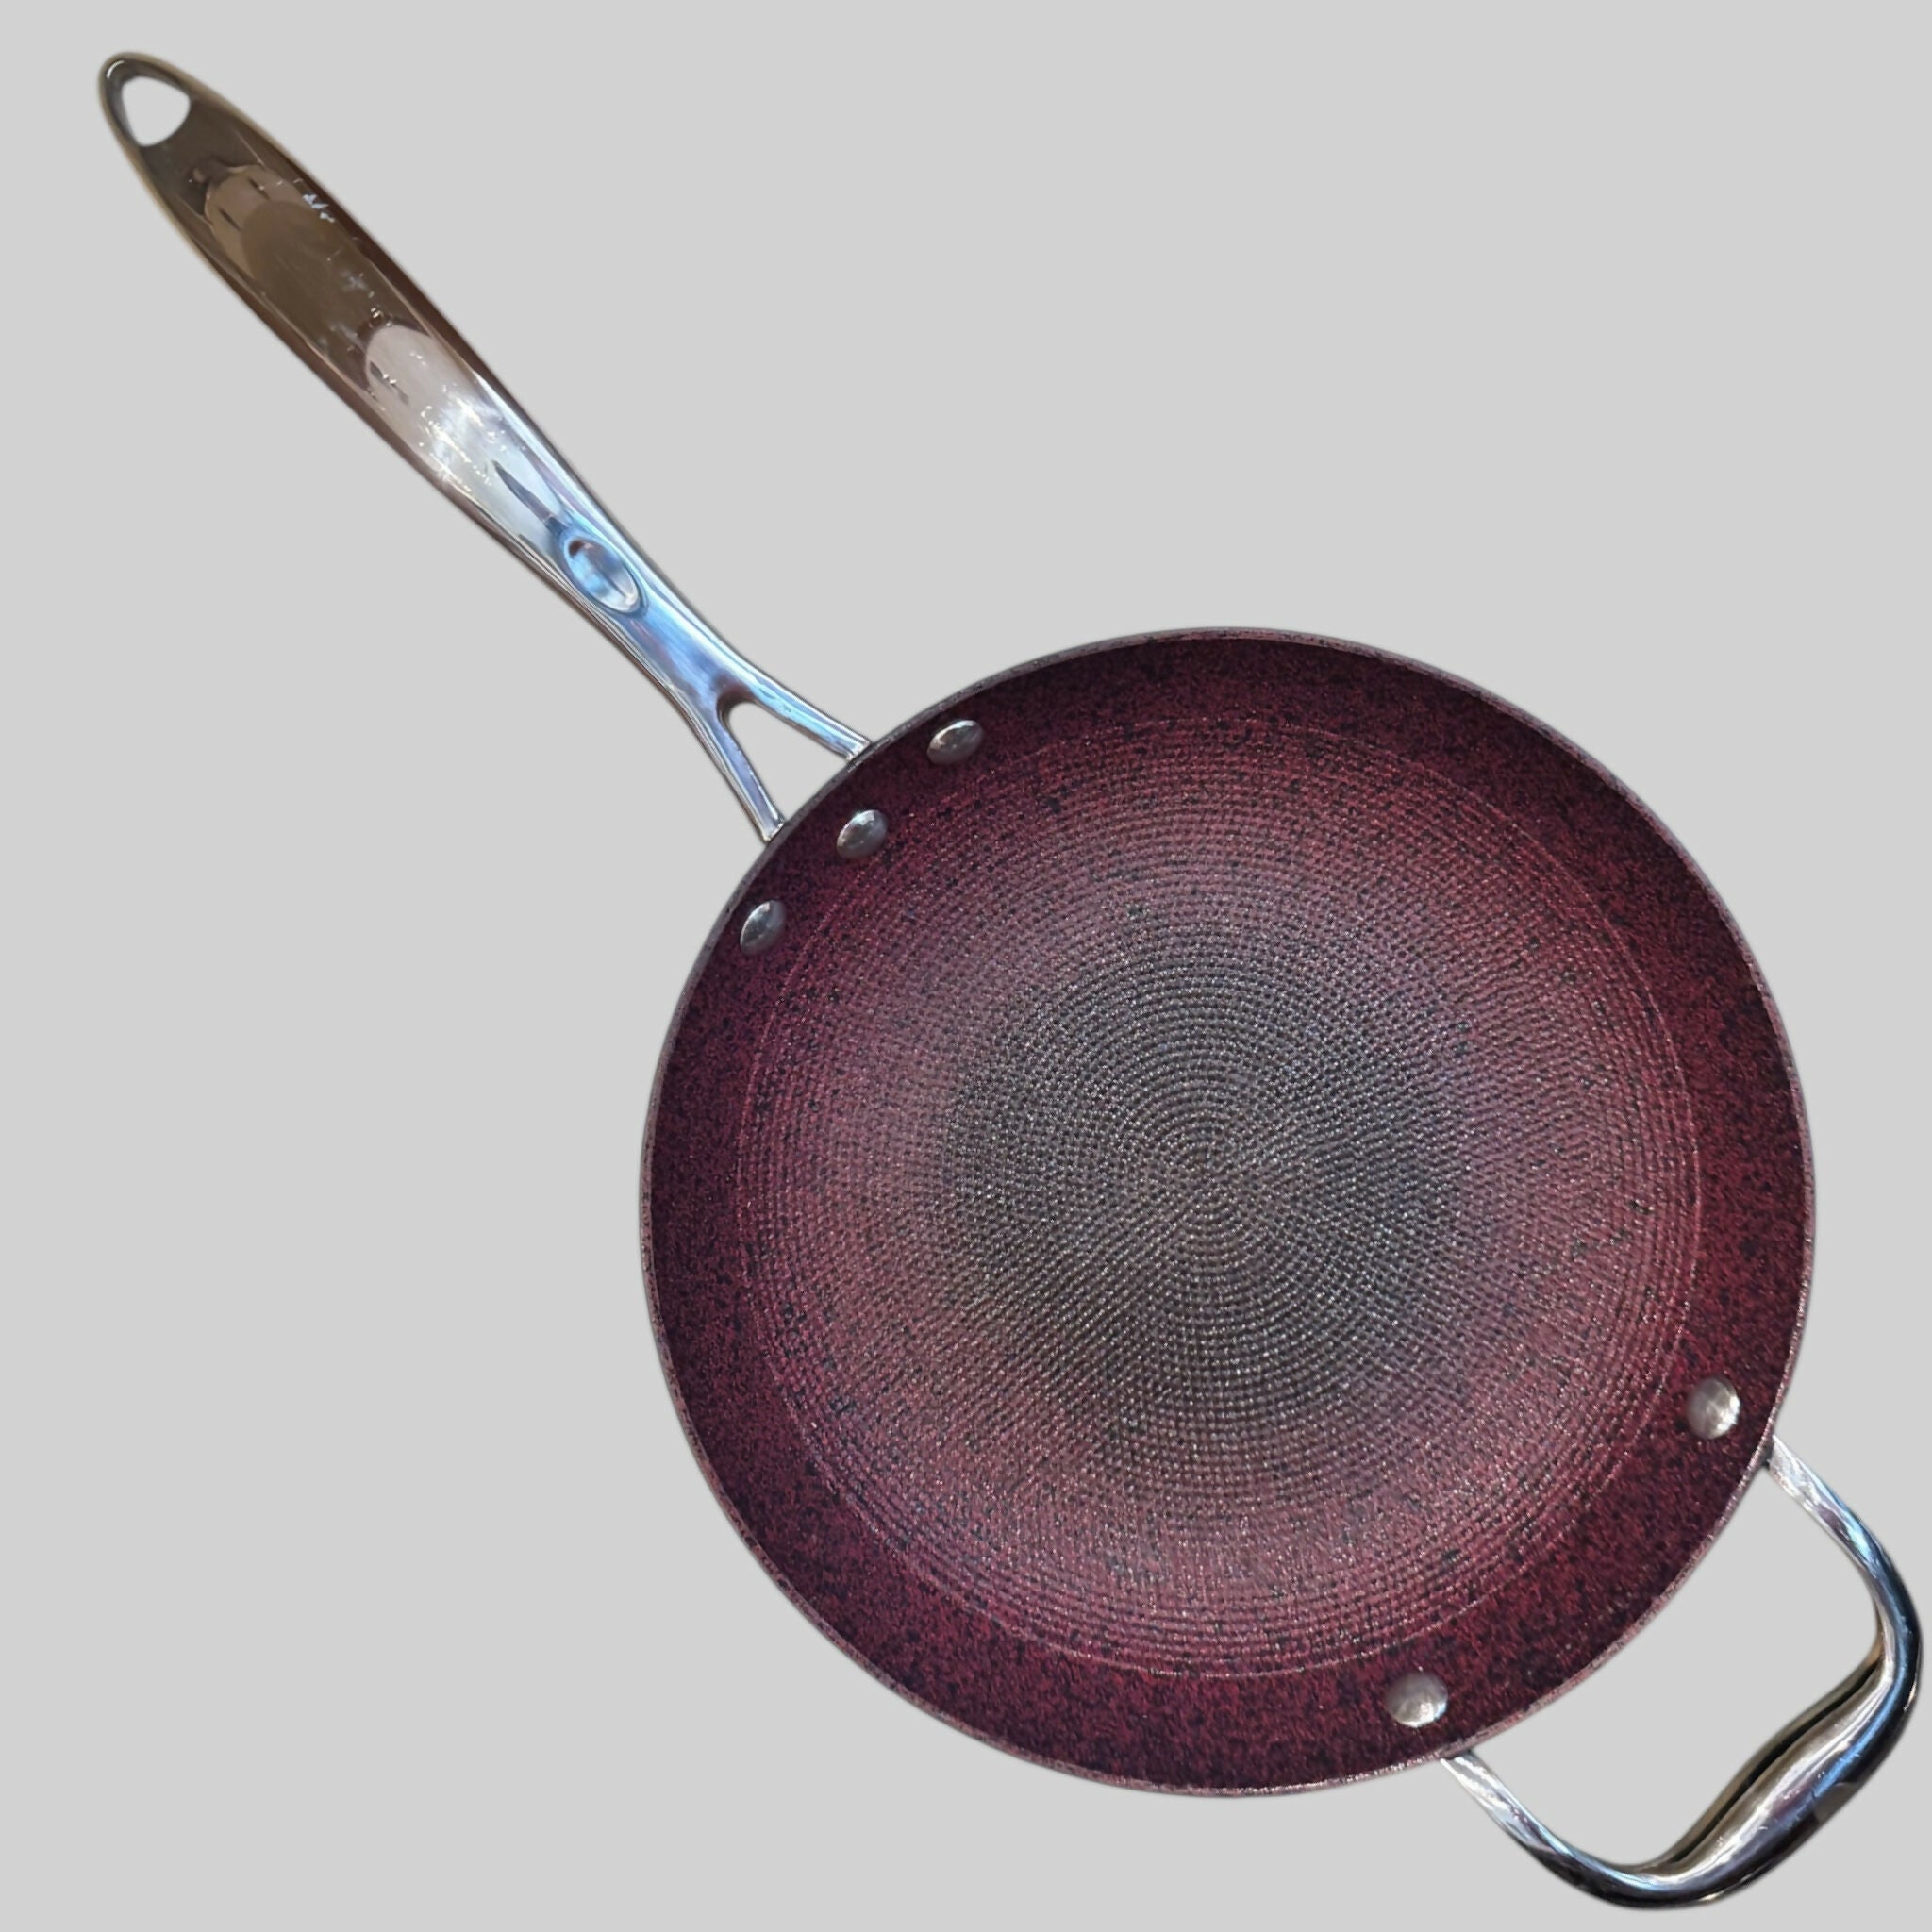
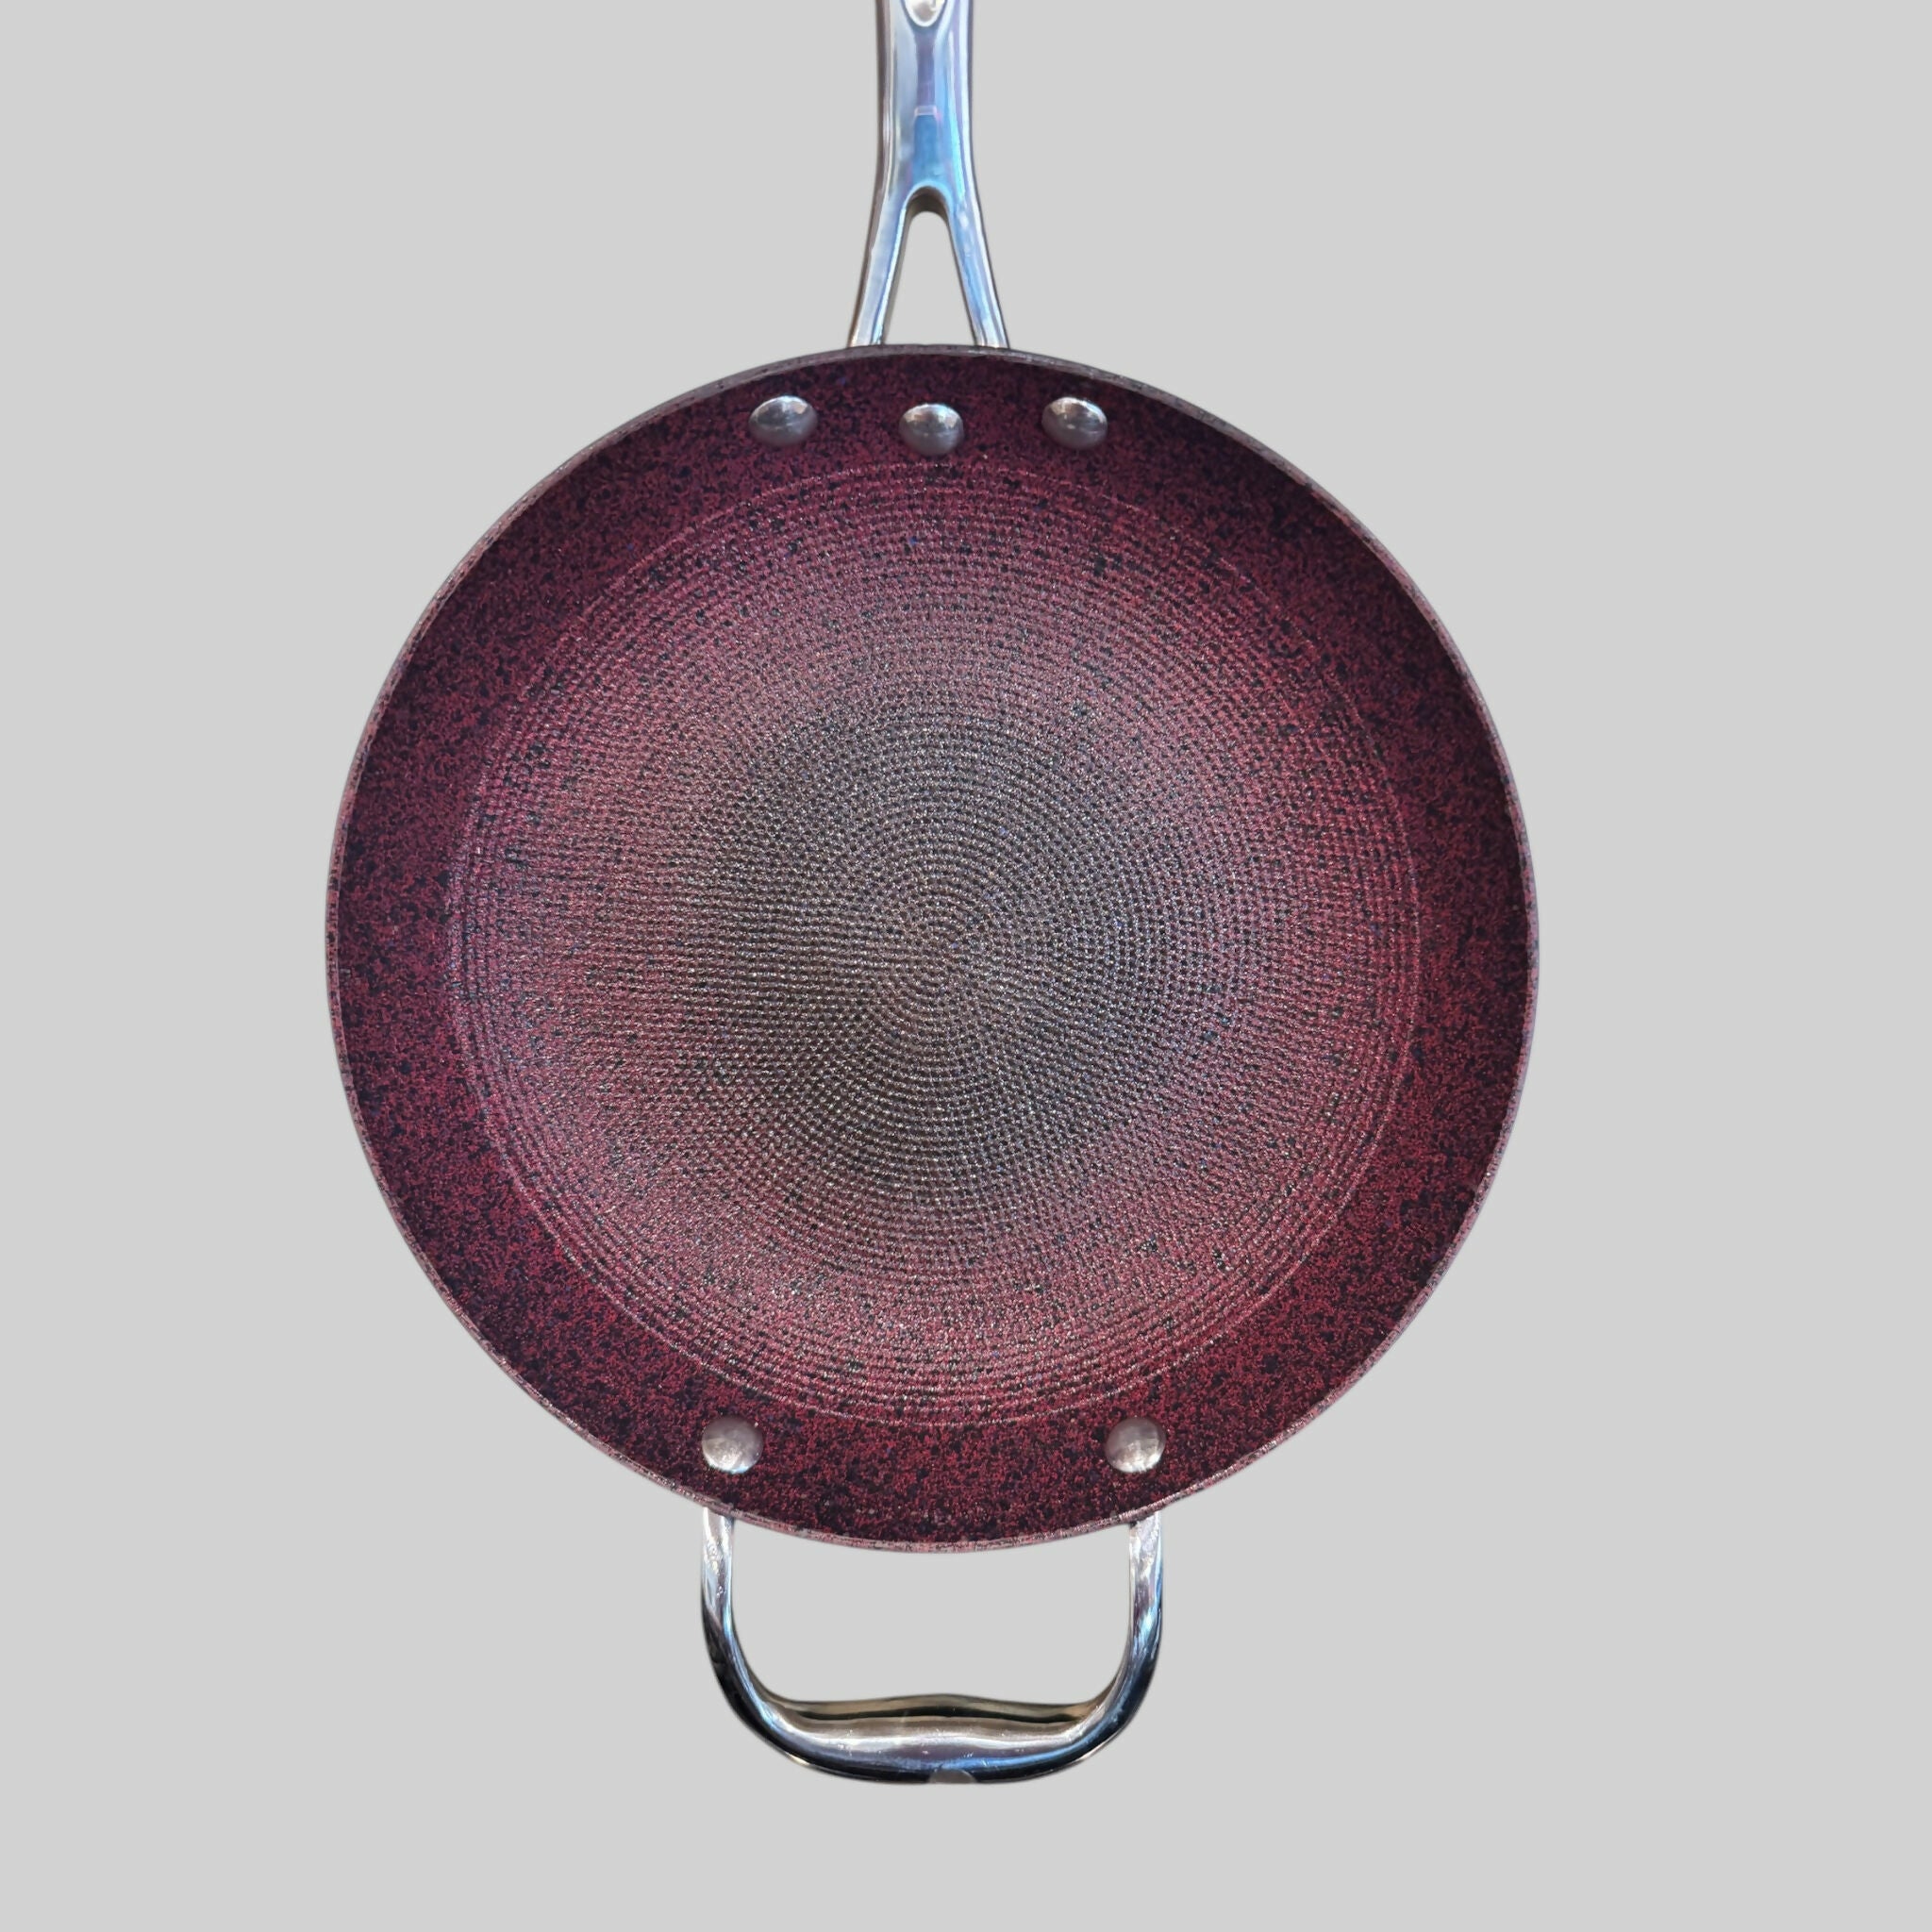
The Battle Plan for Burnt All-Clad Pans
All-Clad pans are like the fancy guests at the dinner party - impressive, but high maintenance when they get scorched. Don’t worry, we’ve got you covered.
Steps to Rescue Burnt All-Clad Pans:
- Water Works: Fill the pan with water and bring it to a boil.
- Baking Soda Bomb: Toss in 2 tablespoons of baking soda and let it bubble.
- Simmer & Wait: Give it 10 minutes to loosen the gunk.
- Scrub Time: Use a nylon scrubber to avoid scratches. No steel wool allowed here!
- For the Stubborn Stuff: Make a baking soda paste, let it sit for 15 minutes, and then scrub again.
- Shine On: Finish with Bar Keeper’s Friend for that mirror finish.
Silver That Sparkles Like New
Tarnished silver? We’ve got tricks that’ll have you seeing your reflection in no time.
Quick Cleaning Blitz:
- Foil Magic: Line a bowl with aluminum foil—shiny side up.
- Baking Soda Spa: Add boiling water and 1 tablespoon of baking soda per cup.
- Dunk and Relax: Submerge the silver, making sure it touches the foil. Watch the tarnish vanish like magic.
- Rinse and Buff: Rinse well and dry it off immediately.
Deep Cleaning for Drama Queens:
- Polish Up: Use silver polish and a soft cloth to buff away stubborn tarnish.
- Shield the Shine: Store silver in anti-tarnish bags or wrap it in felt cloth to keep it gleaming.
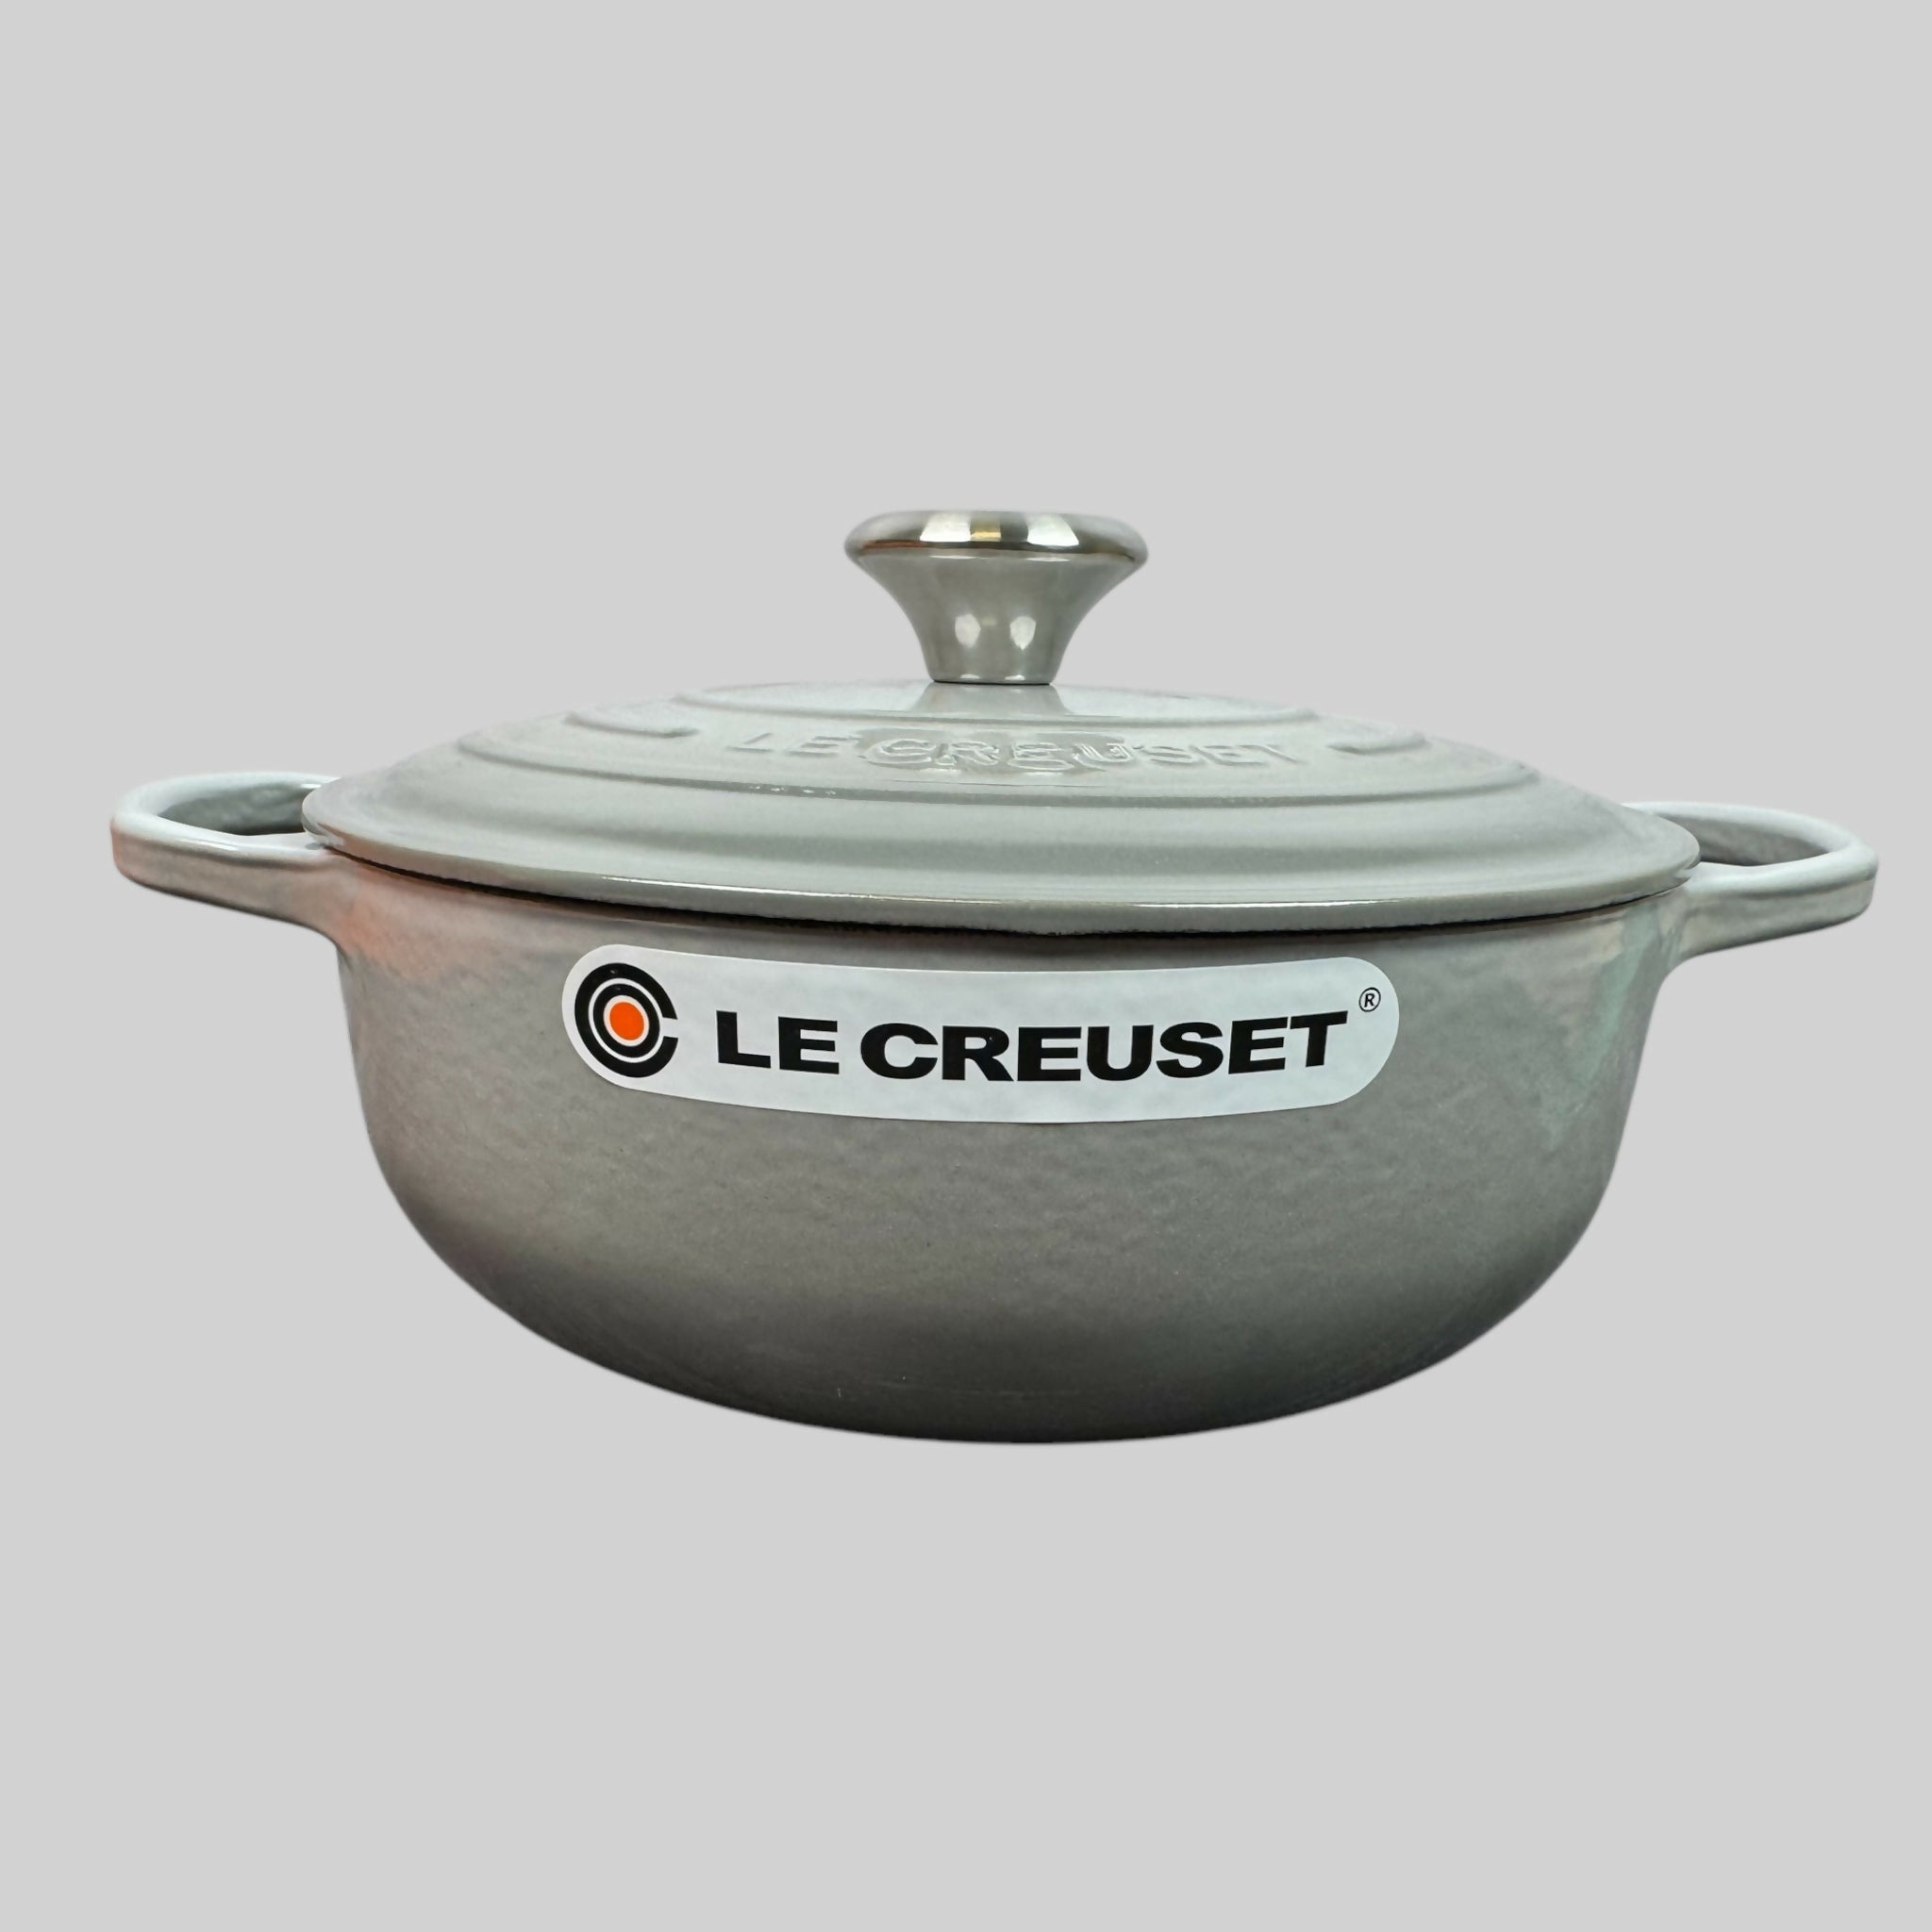
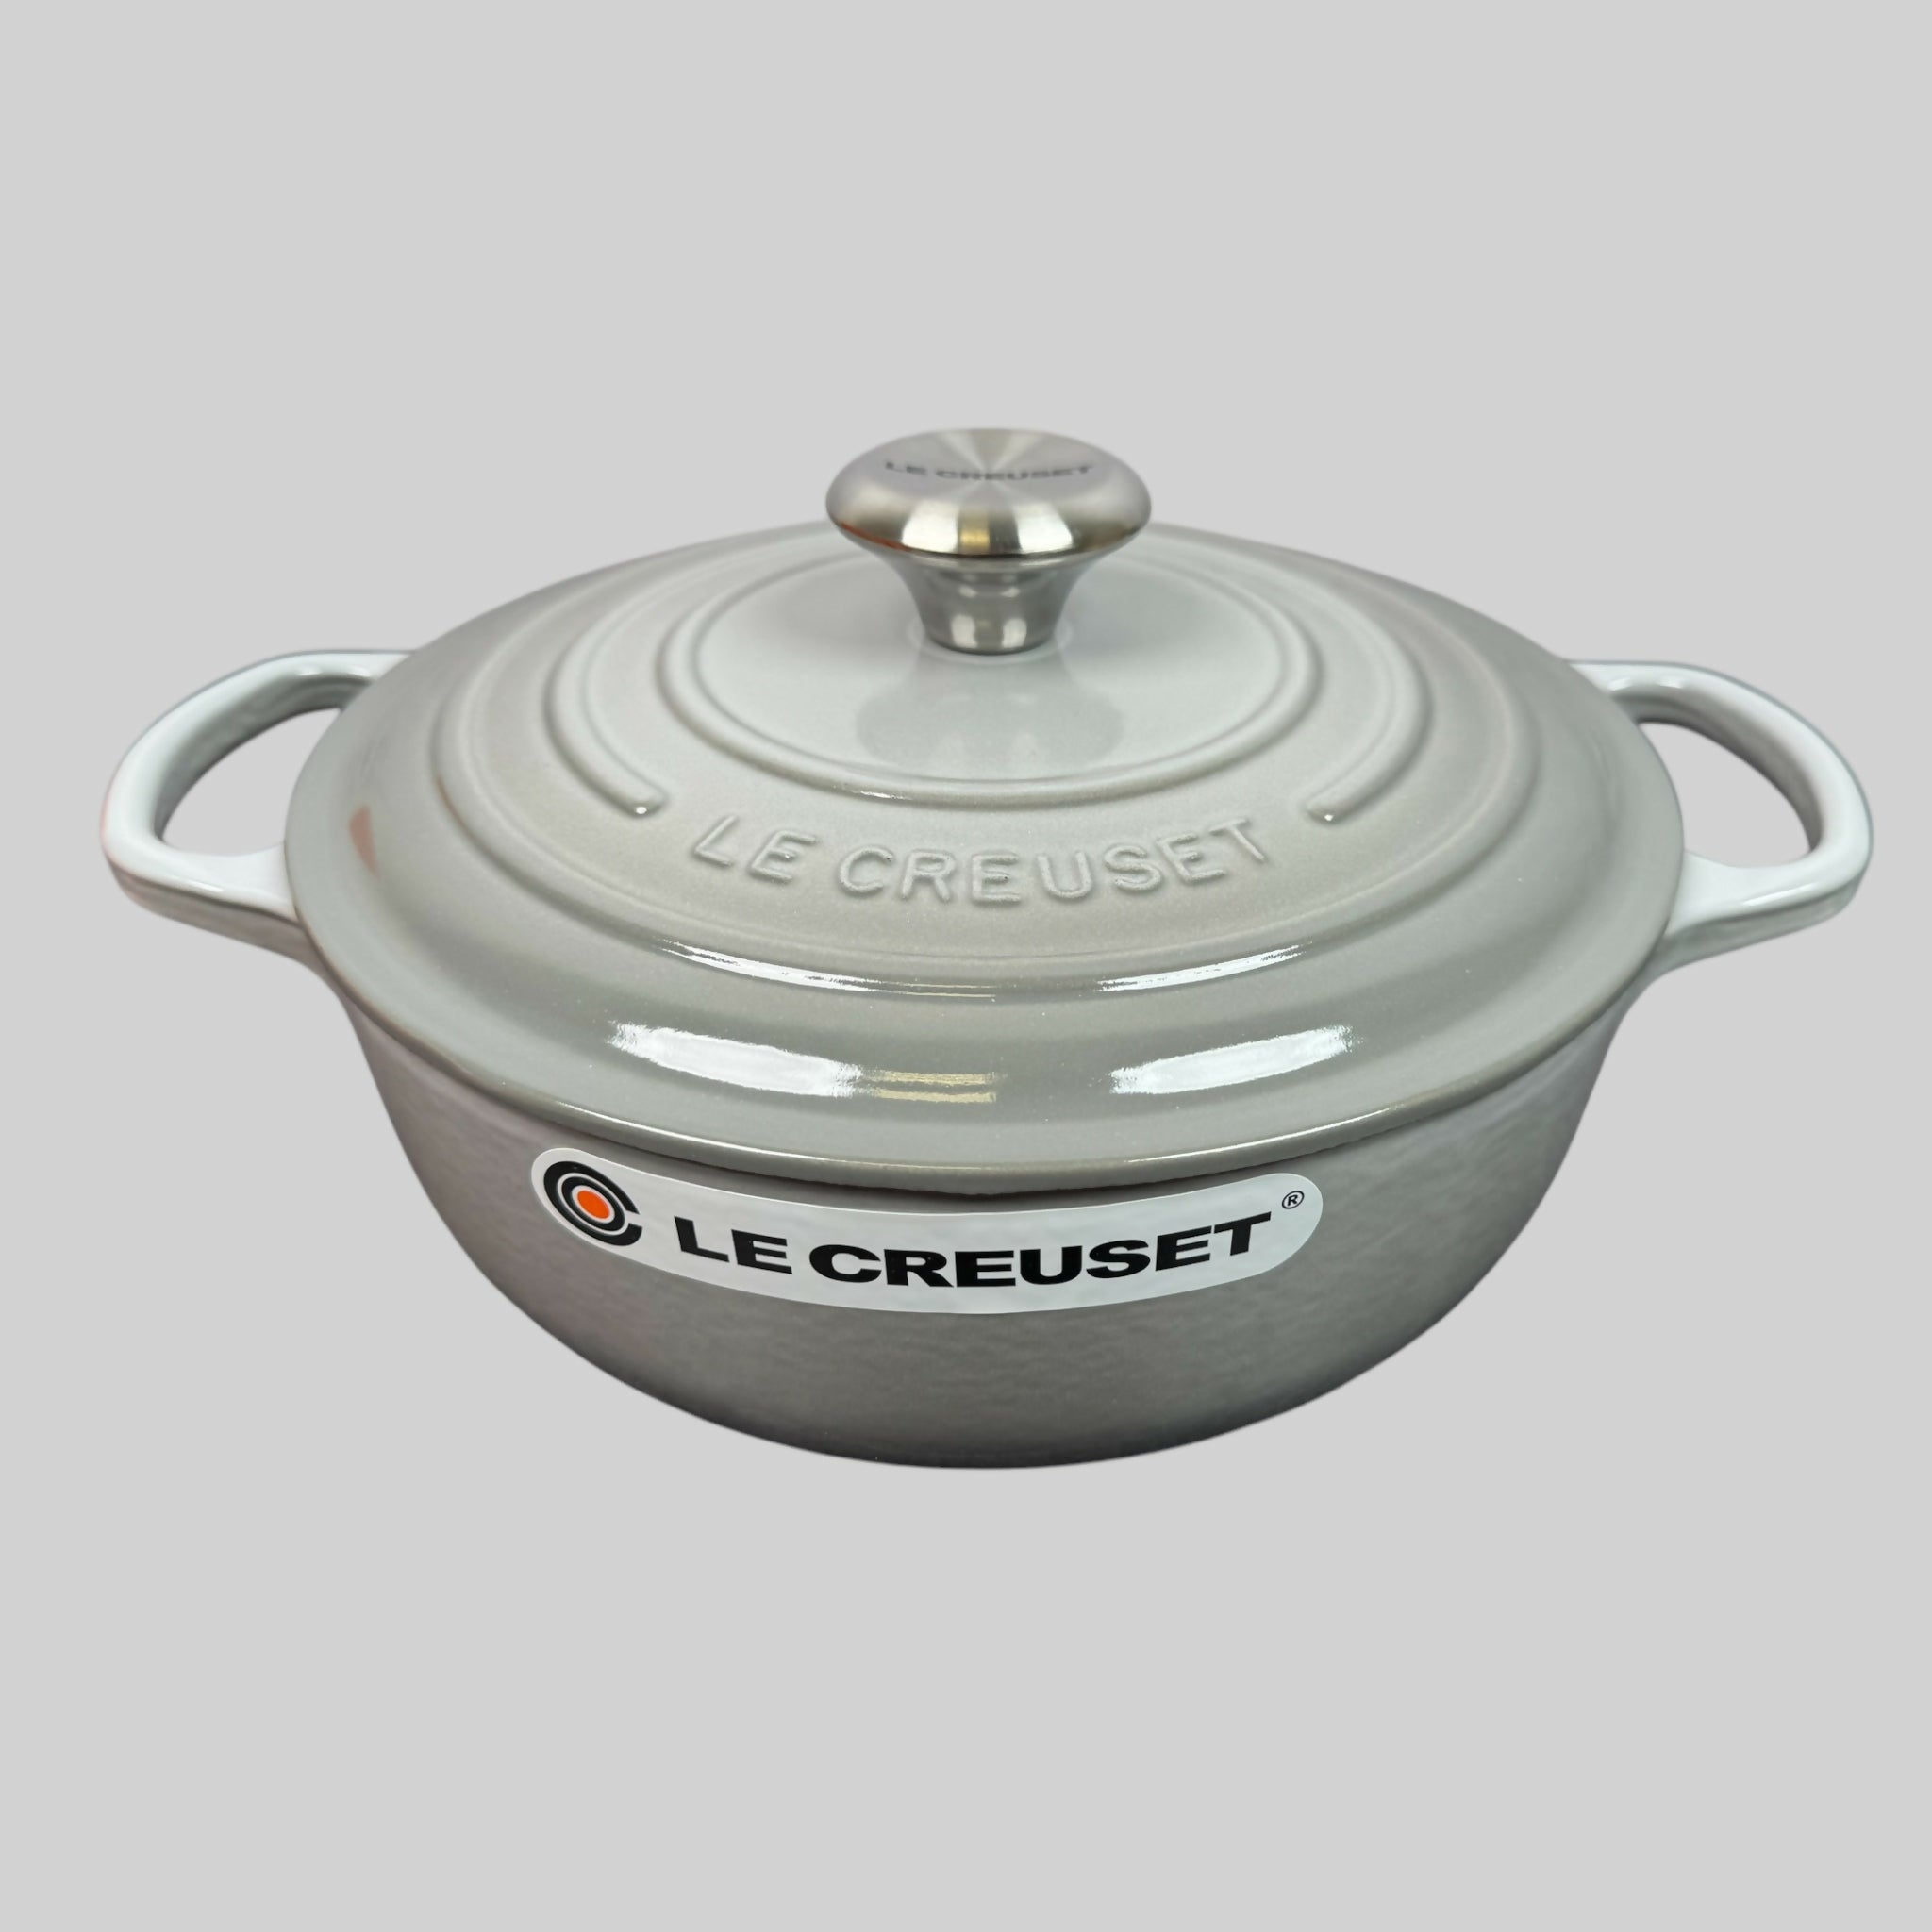
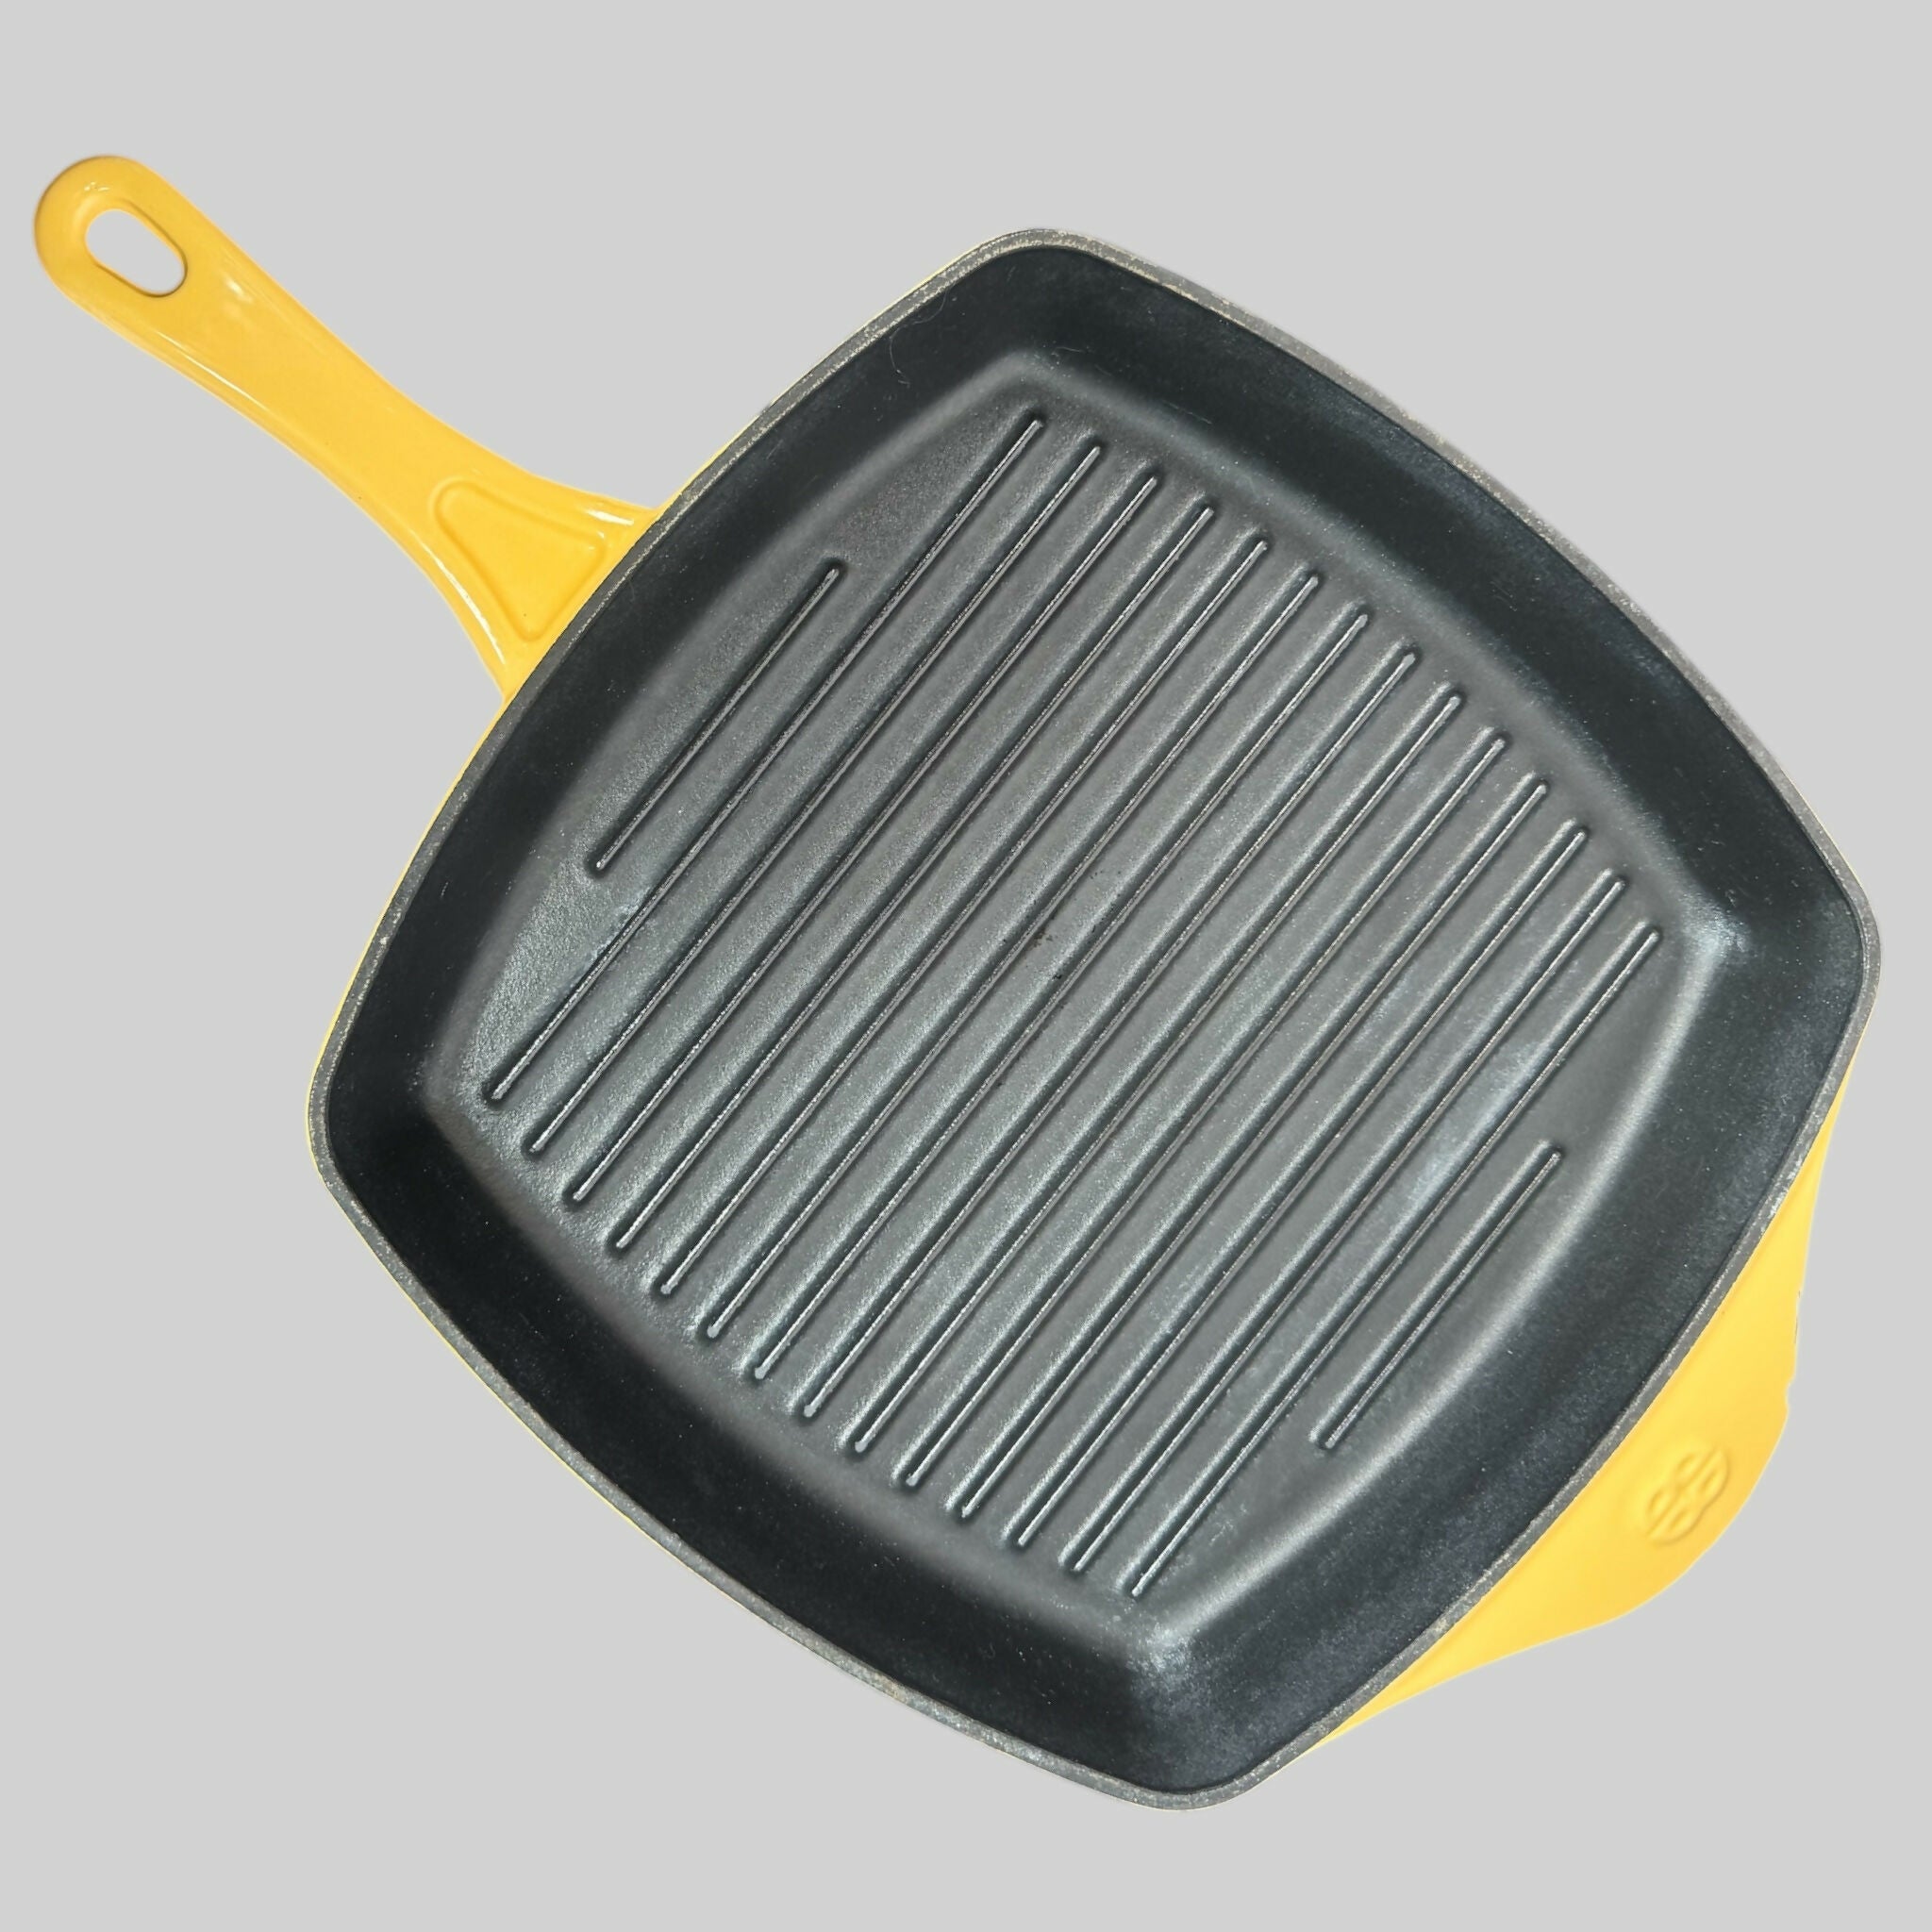
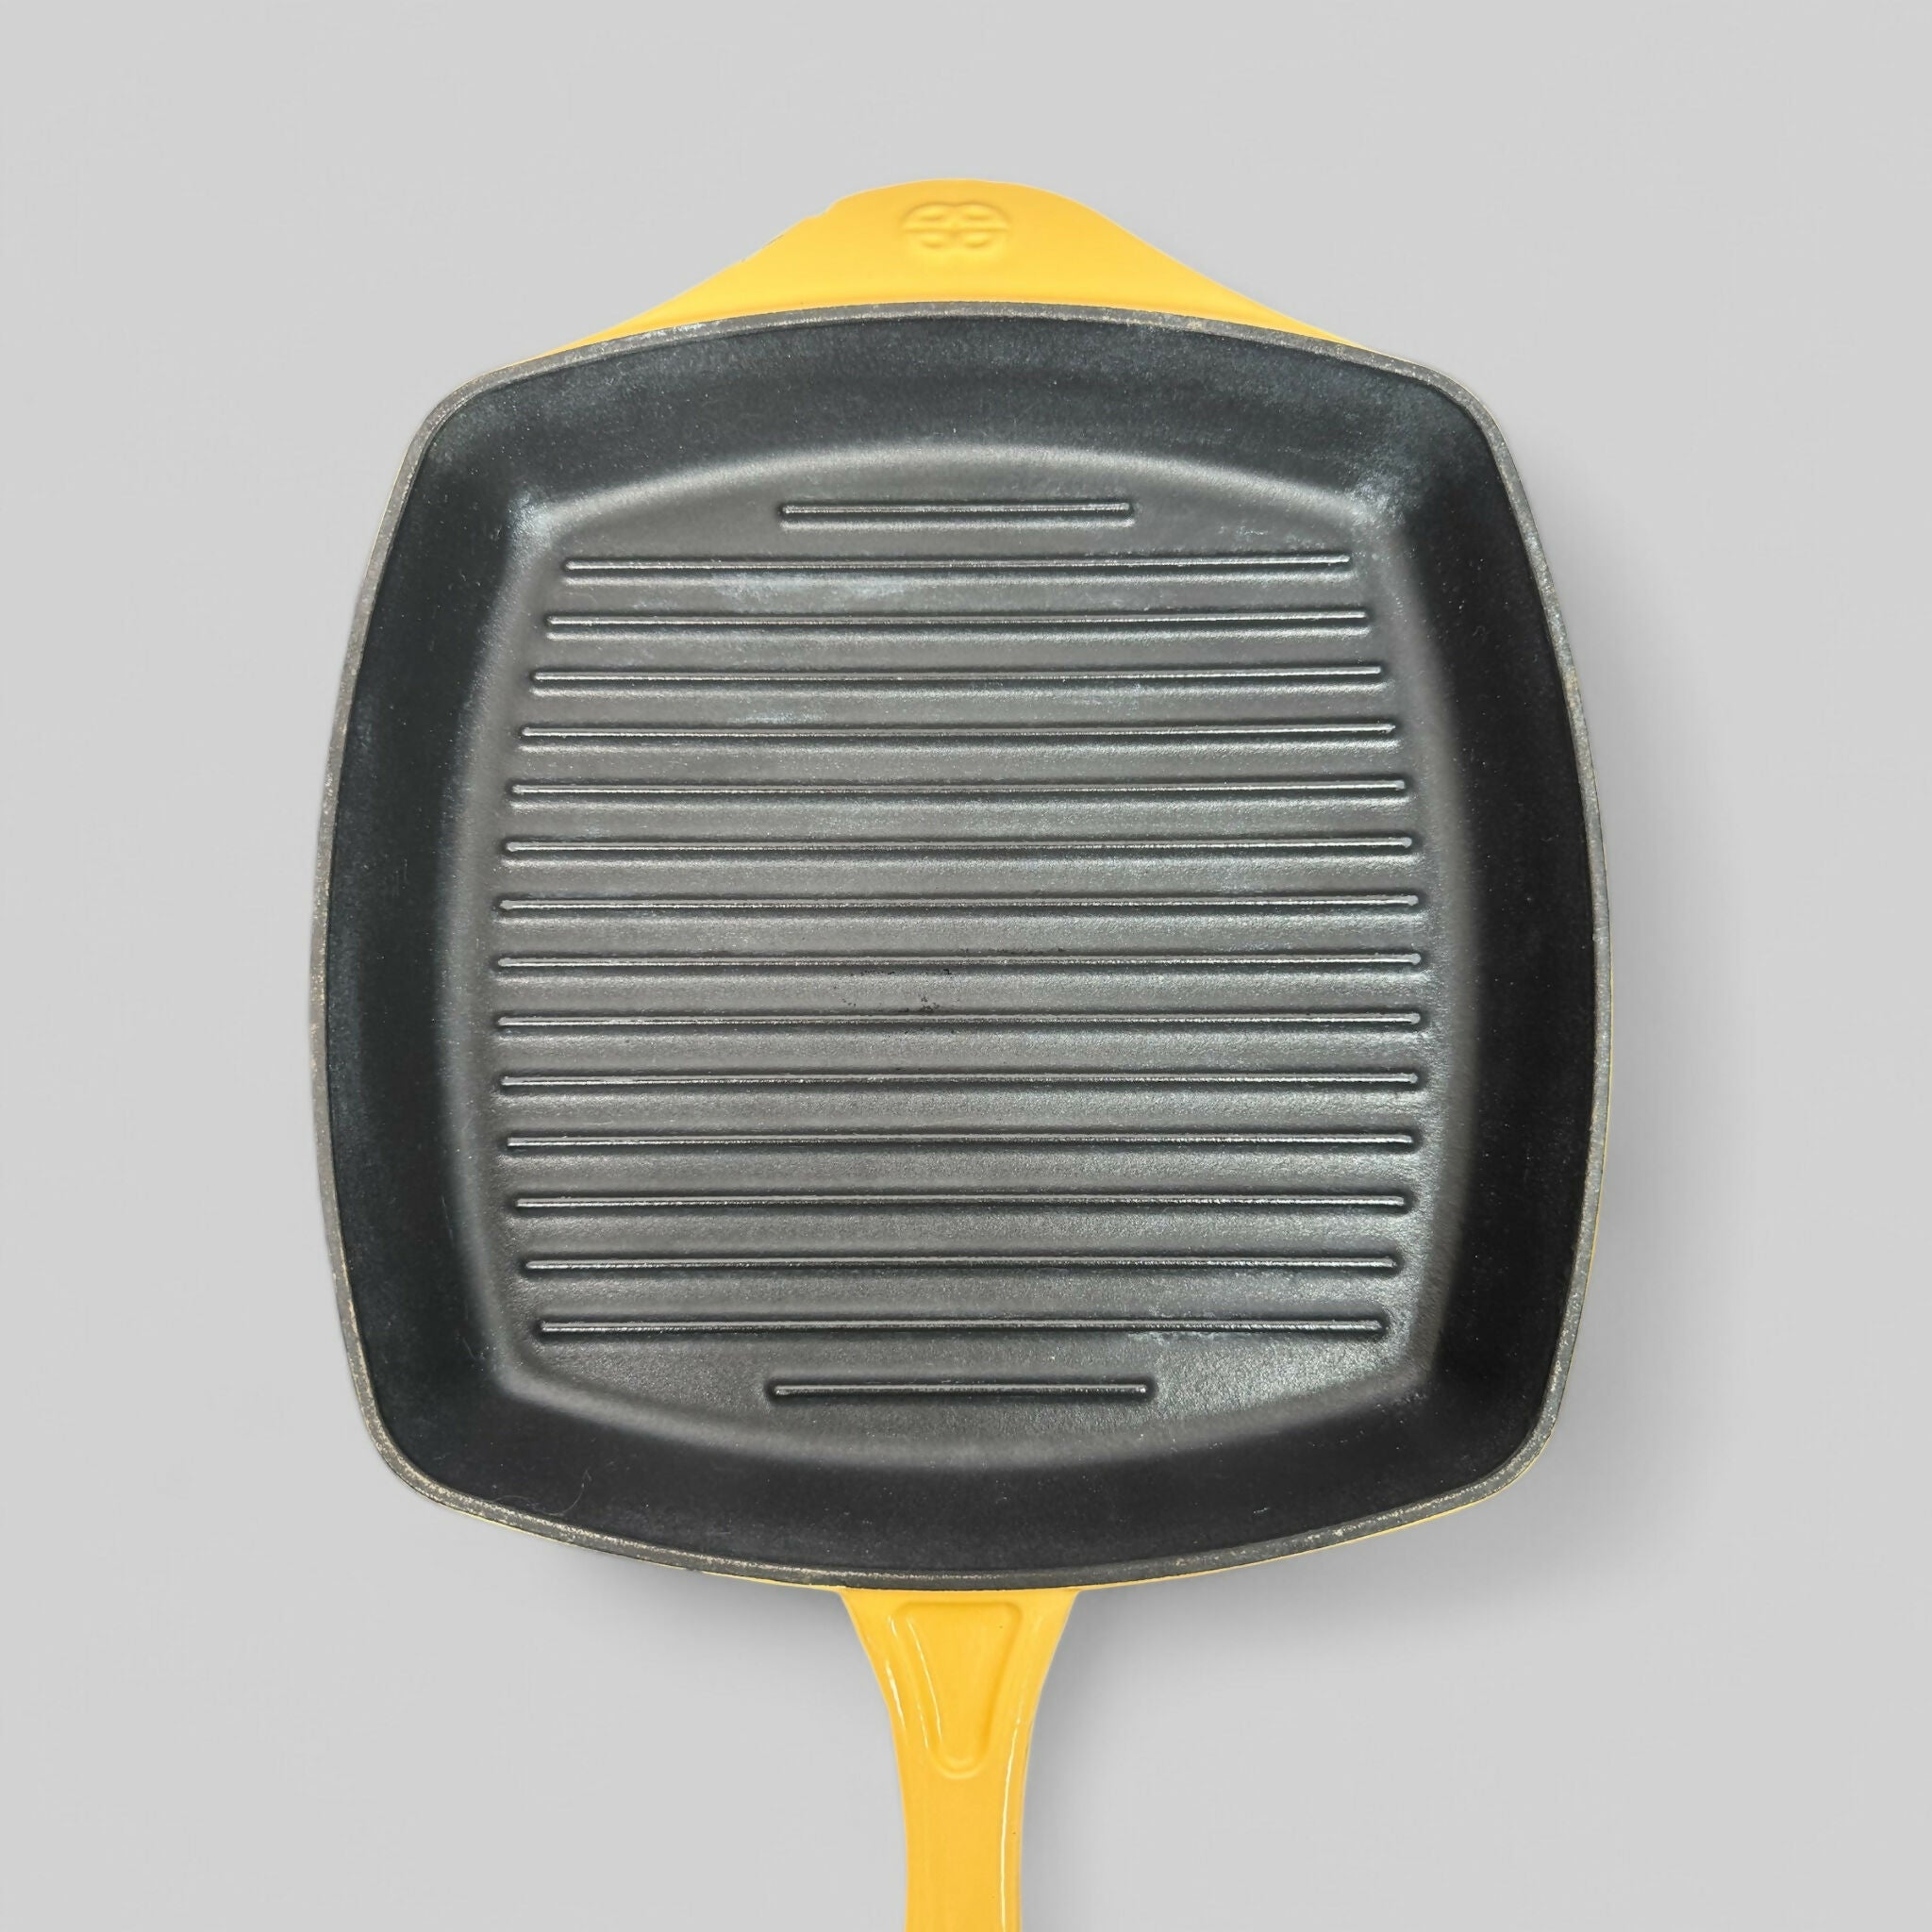
Reviving Le Creuset Pans with Attitude
Le Creuset is the supermodel of cookware - gorgeous, but prone to stains and chips. Brittney has tackled more than a few of these beauties, so follow her lead.
Steps to Save Your Le Creuset:
- Soak First: Fill it with soapy water and let it marinate for 20-30 minutes.
- Gentle Scrub: Use a soft sponge - no abrasives allowed. We’re treating this baby gently.
- Stains Won’t Budge? Make a baking soda paste, let it sit for 10 minutes, and scrub lightly.
- Bar Keeper’s Friend to the Rescue: Use it sparingly to tackle discoloration without scratches.
Exterior Glow-Up:
- Baking Soda Buff: Polish exterior stains with baking soda paste.
- Shiny Finale: Finish with a microfiber cloth for that Instagram-ready glow.
Keep It Pretty:
● Avoid crazy high heat - it burns and stains.
● Use silicone or wooden utensils. Metal is a no-go.
Pro Tips for Cookware Maintenance
- Gentle Cleaners Only: Say no to harsh chemicals. Protect that finish.
- Stack with Care: Use liners between stacked pans to avoid scratches.
- Dry Immediately: Rust is the enemy. Don’t give it a chance.
- Stay Consistent: Lightly oil cast iron after every use and polish silver regularly.
Why Kitchen Switchen is Brittney’s Happy Place
Restoring vintage cookware isn’t just a chore, it’s a lifestyle. Brittney will tell you it’s addictive. From tackling tarnish to wrestling burnt pans, she’s living proof that old kitchenware deserves a second chance.
Ready to share your own restoration wins? Kitchen Switchen is the go-to community for people like Brittney: obsessed with cooking, thrifting, and preserving culinary history. Whether you’re flipping thrift store finds or showcasing heirlooms, this is your spot to connect, sell, and inspire.
The Final Scrub
With a little grit, determination, and maybe a splash of chaos, even the most neglected pots and pans can make a comeback. So roll up your sleeves, channel your inner Brittney, and get scrubbing. And don’t forget, Kitchen Switchen is here to help you turn those restoration projects into treasures worth showing off. Now go make those pans shine!
#VintageStyle #Retro #MidCenturyModern #Antiques #ThriftStoreFinds#VintageDecor#VintageHome #VintageForSale#VintageKitchenware #RestoreKitchenSwitchen #KitchenSwitchen
Leave a comment