Kitchen Bitchen
Sizzling Summer. Why We’re Obsessed with Cast Iron Cooking Outdoors
Let’s talk about one of the realest MVPs of summer cooking — cast iron. It’s summer and we’re guessing you’ve already dipped your toes into outdoor entertaining, grilling, camping, or lake-day picnics. But if cast iron hasn’t joined the party yet, you are missing out!
At Kitchen Switchen, we’re always hunting for gear that goes the distance — and few things are as timeless, durable, and downright sexy as a cast iron skillet sizzling over a fire. Whether you're in your backyard grilling for friends, camping under the stars, or hosting an impromptu lake picnic, cast iron is that ride-or-die pan that gets you.
Let’s break it down.

Why Cast Iron is the Queen of Outdoor Cooking
There’s something about cast iron that feels both rugged and romantic. It’s old-school and trendy all at once — like a vintage Levi’s jacket with perfectly worn-in edges. But beyond the aesthetic, it’s a powerhouse.
✅ Versatility: Sear it. Bake it. Roast it. Melt it. A cast iron skillet can go from nachos to apple crisp without skipping a beat. It’s oven-safe, grill-tough, and open-fire ready.
✅ Even Heat: Say goodbye to hot spots. Cast iron holds heat like a pro, which means your cornbread browns evenly, your fruit caramelizes beautifully, and your cheese melts just right.
✅ Durability: These pans are practically indestructible. With a little love (read: seasoning), cast iron can last generations. Think of it as a kitchen heirloom in the making.
✅ Sustainability: Cast iron is a one-time purchase — no plastic, no coatings, no landfill guilt. If you’re into mindful, planet-friendly cooking (hello, Kitchen Switchen fam!), it doesn’t get better than this.
Fire It Up: How and Where to Use Cast Iron Outdoors
1. On Your Backyard BBQ Grill
Think of your gas or charcoal grill as an outdoor oven. Pop your skillet on the grates, close the lid, and boom — instant cast iron magic. From sweet to savory, you can whip up entire meals right on your patio.
2. Over an Open Fire at the Campsite
There’s nothing like the crackle of a fire and the smell of food cooking under the stars. Cast iron can handle direct heat from logs or coals. Bonus points for using a little tripod or grill grate over the flames.
3. Lakeside Picnics or Cabin Weekends
Pack your skillet with your beach blanket and a cooler of ingredients, and you’re all set for an outdoor feast. Cast iron doesn’t care where you are — it’s ready to serve.
Our Top 6 Super Easy Cast Iron Recipes for the Summer
We’ve tested these with our own families (and let’s be real, even our toddlers devoured them). These aren’t fussy “Pinterest-only” meals — they’re meant to be fun, foolproof, and full of flavor.
Here’s a little taste of what’s cookin’:
1. Cast Iron BBQ Nachos
Think happy hour meets grill night. Layers of tortilla chips, shredded cheese, beans, jalapeños, and your favorite meat all melted together in a cast iron skillet. Ten minutes on the grill and you’ve got a bubbling pile of deliciousness. This one’s made for a backyard movie night or quick lake lunch.
Pro tip: Add avocado and sour cream right before serving for creamy perfection.
Ingredients:
- Tortilla chips (enough to fill your skillet)
- 1 cup shredded cheese (cheddar, Monterey Jack, or mix)
- 1/2 cup black beans (drained)
- 1/2 cup pulled pork, chicken, or beef
- 1/4 cup sliced jalapeños
- 1/4 cup diced red onion
- Salsa, sour cream, and avocado for topping
Instructions:
-
Preheat the Grill
Set your BBQ grill to medium heat (around 375°F) and let your cast iron skillet preheat for about 5 minutes with the lid closed. - In your cast iron skillet, layer chips, cheese, beans, meat, onions, and jalapeños (optional).
- Place on grill and close the lid.
- Cook for 10–12 minutes or until cheese is melted and bubbly.
- Remove from grill, top with salsa, sour cream, and avocado. Serve hot!
2. Grilled Brie & Honey Stone Fruit Skillet
This is your main character energy appetizer. Sautéed peaches and cherries wrapped around a gooey wheel of brie, drizzled with honey and served with crusty bread. It’s sweet, salty, melty, and fancy without the effort.
Perfect for that girls’ wine night on the patio, or impressing your in-laws during that cabin getaway.
Ingredients:
- 1 wheel of brie (about 8 oz)
- 2 ripe peaches or nectarines, sliced
- 1/2 cup fresh cherries (fresh or frozen)
- 2 tbsp honey (plus more for drizzling)
- 1 tbsp butter
- 1/4 tsp cinnamon (optional)
- Crusty bread or crackers, for serving
- Optional garnish: chopped pistachios or fresh thyme
Instructions:
-
Preheat the Grill
Set your BBQ grill to medium heat (around 375°F) and let your cast iron skillet preheat for about 5 minutes with the lid closed. -
Prep the Fruit
While the skillet heats, pit your cherries if fresh. You want them ripe but firm so they don’t fall apart. -
Caramelize the Fruit
Add butter to the hot skillet. Once melted, toss in the fruit and sprinkle with a touch of cinnamon if using. Sauté for 3–5 minutes until lightly caramelized. -
Add the Brie
Push the fruit to the sides and place the brie wheel in the center of the skillet. Drizzle everything with honey. -
Grill with the Lid Closed
Close the BBQ lid and grill for 8–10 minutes, or until the brie is soft and gooey in the center and the fruit is bubbling around the edges.
Serve It Up
Carefully remove from the grill. Drizzle with more honey and sprinkle with pistachios or thyme if you’d like. Serve warm with toasted baguette slices or crackers
3. BBQ Skillet Cornbread
The golden, crisp-edged cornbread of your dreams — baked entirely on the grill. Honey-sweet with just a hint of smokiness, this skillet classic is a must-have side for grilled meats, chili nights, or any gathering where you want to say “I totally made this from scratch.”
And yes — slather it with more butter. You’re outdoors. You’ve earned it.
Ingredients:
- 1 cup cornmeal
- 1 cup all-purpose flour
- 1 tbsp baking powder
- 1/2 tsp salt
- 1 cup buttermilk
- 2 eggs
- 1/4 cup honey
- 1/4 cup melted butter or vegetable oil
- 1 tbsp butter (for greasing pan)
Instructions:
-
Preheat the Grill
Set your BBQ grill to medium heat (around 375°F) and let your cast iron skillet preheat for about 5 minutes with the lid closed. - Place your cast iron skillet on the grill and let it heat up for about 5–7 minutes.
- In a bowl, mix dry ingredients (cornmeal, flour, baking powder, salt).
- In another bowl, whisk wet ingredients (buttermilk, eggs, honey, melted butter).
- Combine wet and dry mixtures; stir until just mixed.
- Carefully add 1 tbsp butter to the hot skillet and swirl to coat.
- Pour batter into the skillet, close the lid, and grill for 20–25 minutes, until golden brown and a toothpick comes out clean.
- Cool slightly and serve with more honey or butter.
4. Grilled Peach & Burrata Salad
If summer were a salad, this would be it. Juicy grilled peaches nestled next to a creamy burrata ball, lightly wilted arugula, and a drizzle of balsamic glaze — all built right in your skillet.
It’s beautiful enough to serve at brunch but simple enough to make at a campsite. And burrata melting in a warm pan? Literal poetry.
Ingredients:
- 3 ripe peaches, halved and pitted
- 1 tbsp olive oil
- 1 tbsp balsamic glaze
- 1 ball burrata
- 2 cups arugula
- Salt & pepper to taste
- Optional: toasted almonds or pistachios
Instructions:
-
Preheat the Grill
Set your BBQ grill to medium heat (around 375°F) and let your cast iron skillet preheat for about 5 minutes with the lid closed. - Brush peach halves with olive oil and place them cut-side down in the cast iron skillet.
- Grill 4–6 minutes until charred and softened.
- Add olive oil to cast iron pan, place burrata in pan, add grilled peaches. Close cover.
- Let Burrata melt into peaches – approx. 5-10 minutes. Checking to ensure the cheese isn’t burning.
- Drizzle lightly with balsamic glaze; grill 2 more minutes.
- Remove from heat and place on heat protected area. Add arugula
- Drizzle more glaze, 2 tablespoons olive oil sprinkle salt and pepper, and garnish with toasted nuts.
- Serve as a wonderful salad side or main meal and Enjoy!
5. Cast Iron S’mores Skillet
Who said dessert needs a stick? This one-pan wonder melts chocolate and marshmallows into gooey heaven. Add graham crackers, peanut butter chips, or a Nutella swirl for a next-level finish.
Perfect for camping, yes — but we also highly recommend making this in your backyard with wine, sweatpants, and zero shame.
Ingredients:
- 1½ cups semi-sweet or milk chocolate chips (or chopped chocolate bars)
- 1–2 sleeves of graham crackers (broken into chunks)
- 1½ cups large marshmallows (or enough to cover the top)
- Optional: peanut butter chips, caramel drizzle, Nutella swirl
Instructions:
- Preheat grill to medium or place a cast iron pan on the edge of the campfire (not in direct flame).
- Layer chocolate chips in the bottom of the skillet.
- Add graham cracker chunks over the chocolate.
- Top generously with marshmallows.
- Cover loosely with foil if using a grill.
- Cook for 10–15 minutes, until marshmallows are golden and chocolate is melted.
- Remove from heat. Use graham crackers or spoons to scoop and enjoy!
6.Grilled Apple Crisp
Our Grilled Apple Crisp is the ultimate comfort dessert made right on your BBQ. Juicy apples get tossed with brown sugar, cinnamon, and lemon juice, then topped with a crumbly oat-butter mixture that gets perfectly golden and crisp over the fire. Just cover it with foil, let the grill work its magic, and in about 30 minutes you’ve got a bubbling, caramelized masterpiece.
We highly recommend serving it warm with a giant scoop of vanilla ice cream — preferably with bare feet, a backyard breeze, and your favorite playlist playing in the background.
Ingredients:
Filling:
- 4 apples, peeled, cored, and sliced
- 1/4 cup brown sugar
- 1 tsp cinnamon
- 1 tbsp lemon juice
Topping:
- 1/2 cup rolled oats
- 1/3 cup flour
- 1/3 cup brown sugar
- 1/2 tsp cinnamon
- 1/4 cup cold butter, cut into cubes
Instructions:
-
Preheat the Grill
Set your BBQ grill to medium heat (around 375°F) and let your cast iron skillet preheat for about 5 minutes with the lid closed. - In a bowl, toss apples with brown sugar, cinnamon, and lemon juice. Pour into cast iron pan.
- In another bowl, mix oats, flour, sugar, and cinnamon. Add butter and mix until crumbly.
- Sprinkle topping evenly over apples.
- Cover skillet loosely with foil and place on grill.
- Cook for 30–35 minutes until apples are soft and topping is golden.
- Serve warm with vanilla ice cream.
- Enjoy!
Garlic Butter Shrimp Skillet
Our Garlic Butter Shrimp Skillet is that perfect blend of buttery richness, zesty lemon, and a hint of heat. Toss it all together in a sizzling cast iron pan right on the grill, and you’ve got a five-star meal in under 10 minutes. No stove, no fuss — just fresh shrimp sizzling in garlic butter with lemon juice and a sprinkle of red pepper flakes.
Simple. Elegant. Absolutely delicious. Cast iron shrimp is always a good idea.
Ingredients:
- 1 lb large shrimp, peeled and deveined
- 3 tbsp butter
- 3 garlic cloves, minced
- Juice of 1/2 lemon
- Pinch of red pepper flakes
- Salt and pepper to taste
- Fresh parsley for garnish
Instructions:
-
Preheat the Grill
Set your BBQ grill to medium heat (around 400°F) and let your cast iron skillet preheat for about 5 minutes with the lid closed. - Melt butter in the skillet. Add garlic and cook for 30 seconds.
- Add shrimp in a single layer. Cook for 2–3 minutes on one side.
- Flip shrimp, add lemon juice, red pepper flakes, salt, and pepper. A little white wine, if you wish
- Cook another 3-5 minutes until shrimp are pink and opaque.
- Garnish with parsley and serve immediately with crusty bread
- Enjoy!
A Few Cast Iron Tips from the Kitchen Switchen Crew
- Preheat with the lid closed: Whether on a grill or over a campfire, let the pan warm up for 5–7 minutes before adding anything. It helps with even cooking and that golden crust.
- Use heat-resistant gloves: Cast iron gets HOT, y’all. Protect your hands — especially if you're multitasking with toddlers, dogs, or s’mores stations.
- Clean with hot water and a stiff brush: No soap needed. Just rinse, dry, and re-season with a thin coat of oil.
- Store with love: Keep it dry and lightly oiled when not in use. If treated right, your skillet will love you back forever.
Why We’re Crushing on Cast Iron
At Kitchen Switchen, we’re all about helping you cook smarter, live more sustainably, and find joy in the everyday. Cast iron checks all those boxes — and then some. It’s tough. It’s beautiful. It’s adaptable. Just like you.
So whether you’re lighting up the grill, heading into the woods, or simply want to keep the oven off during triple-digit heat, cast iron is the way to go.
Want the full recipes?
We’ve got you covered. [Click here] to grab all 5 super easy cast iron recipes from this blog — printable, shareable, and ready for your next outdoor adventure.
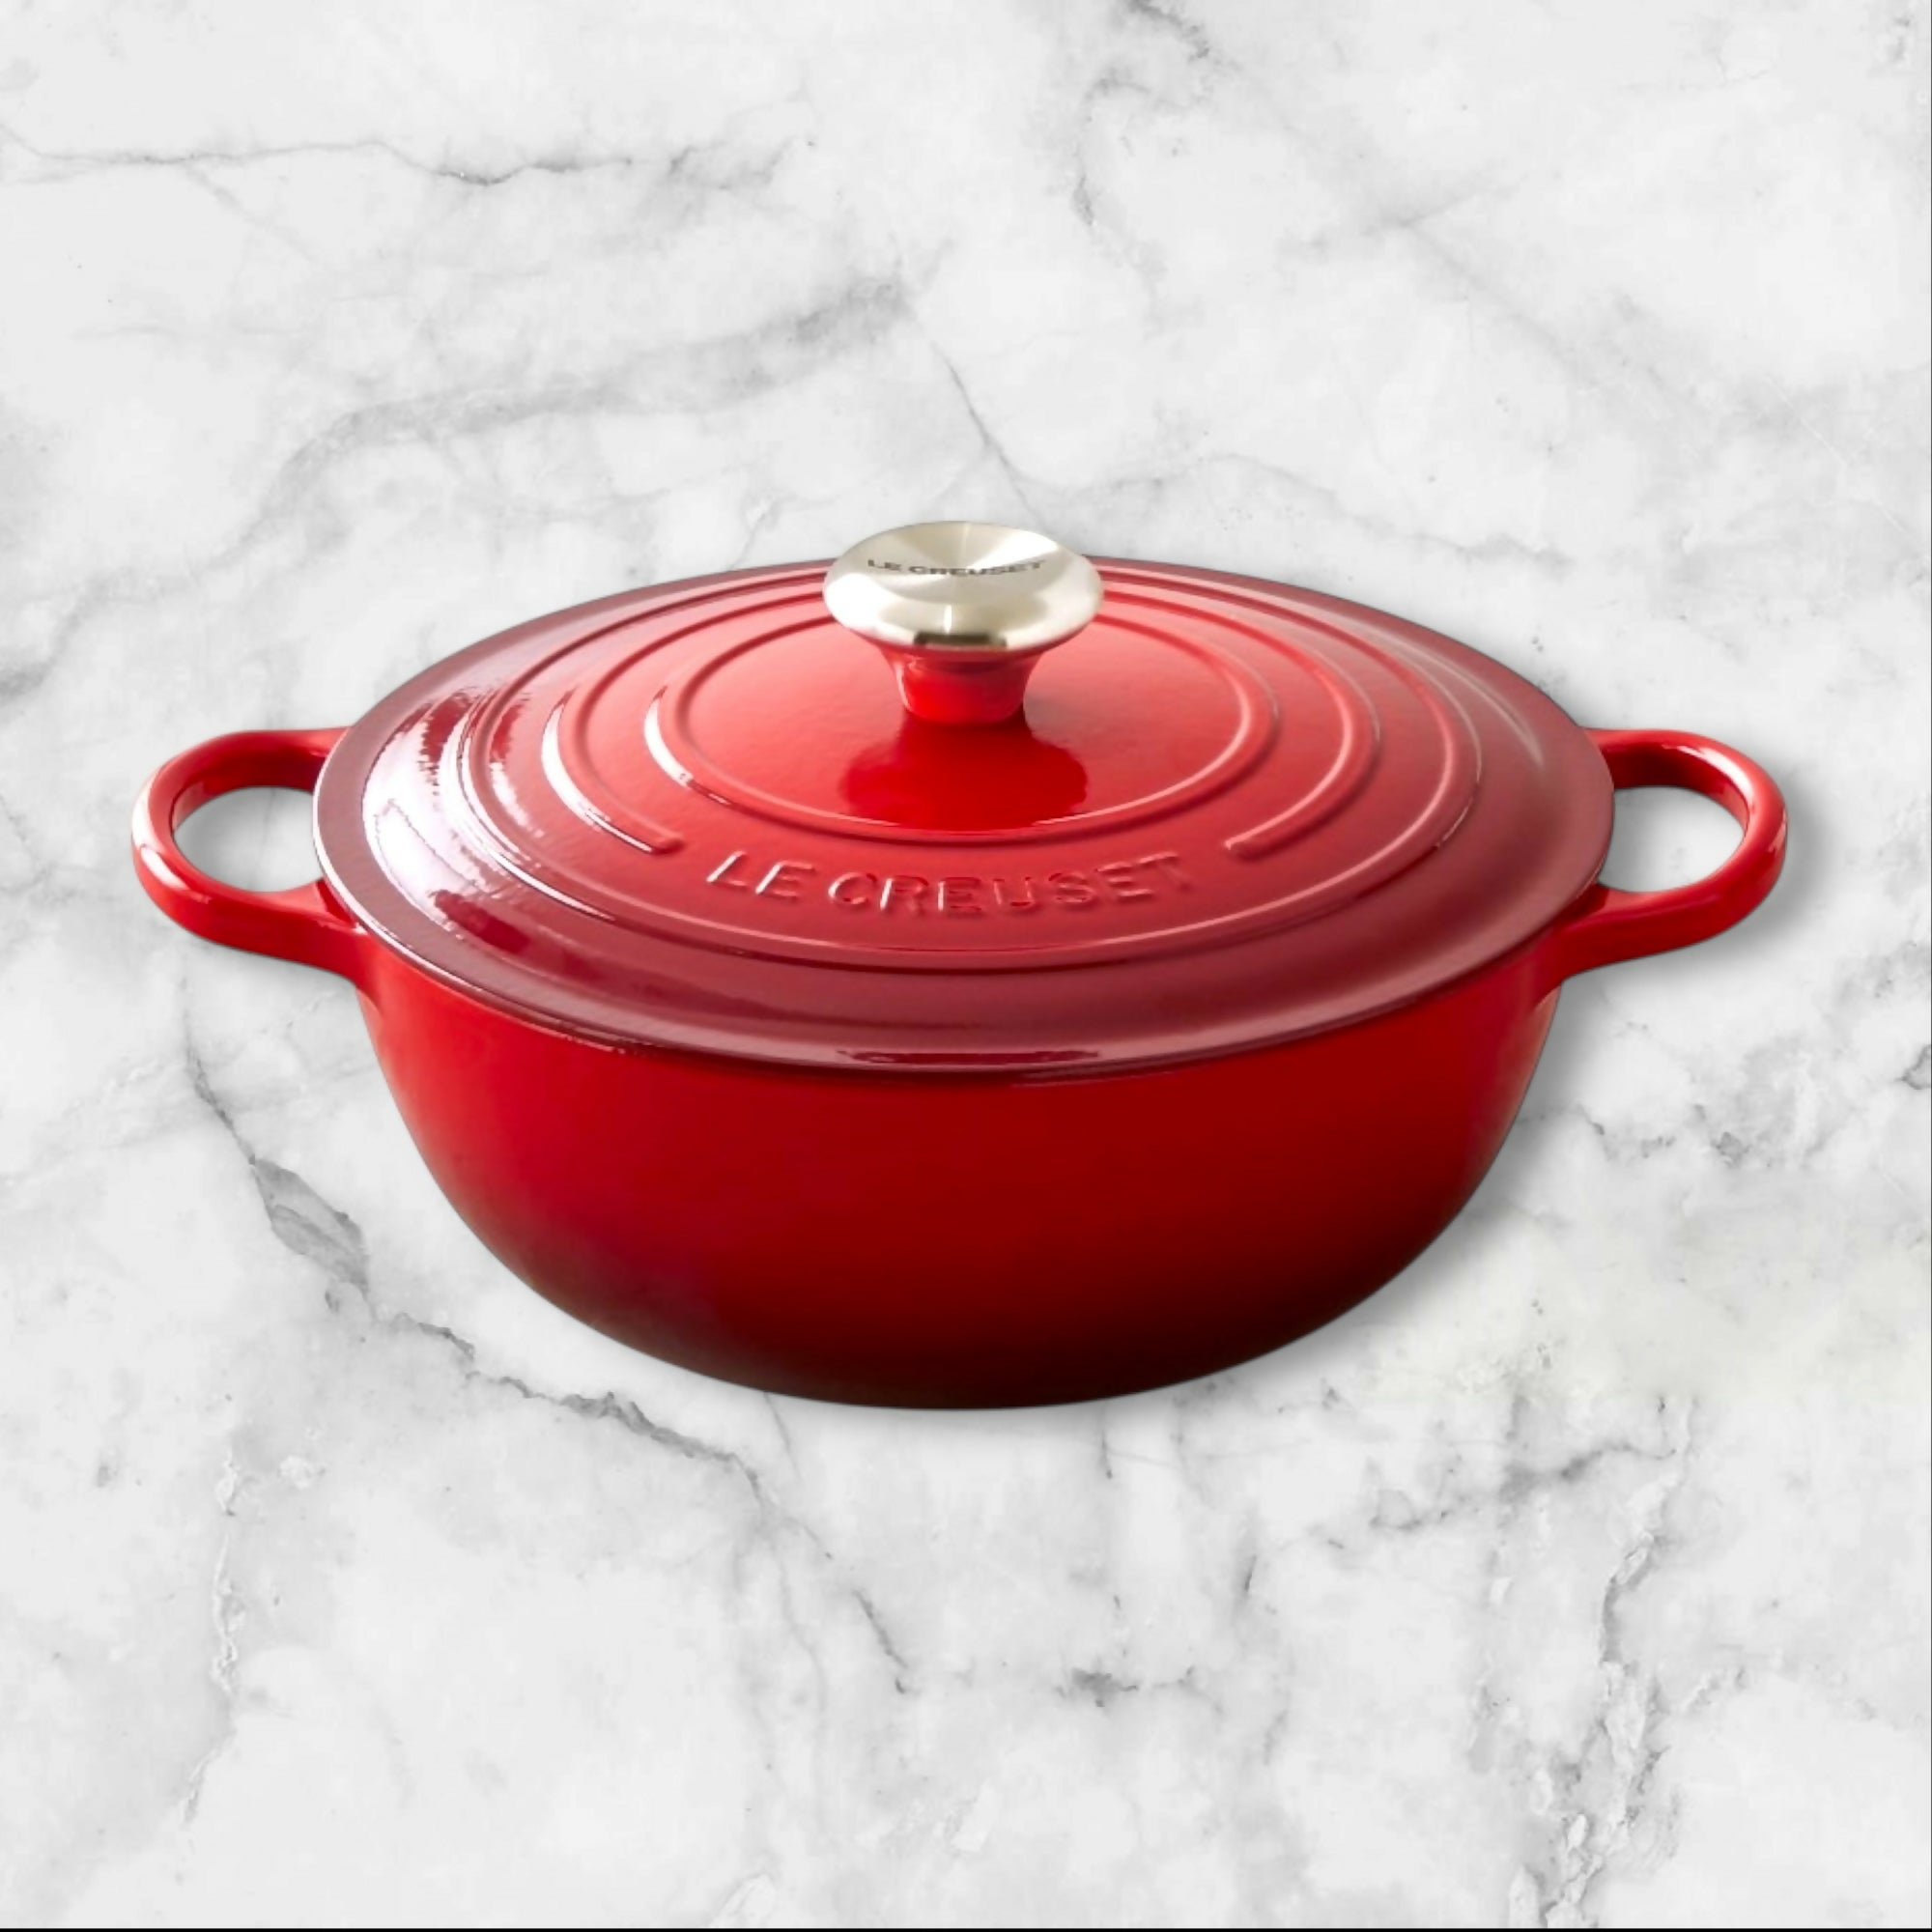
And don’t forget — we’ve got some seriously good pre-seasoned cast iron and vintage skillets available right now on KitchenSwitchen.com. Certified, tested, and loved by our team of real women who live for food, fun, and family time.
Let’s Get Cooking!
So fire up the grill. Pack the car. Call your sister or your bestie. This summer, we’re taking cast iron outdoors and making memories one delicious meal at a time.
We’ll see you around the campfire.





Dejar un comentario